How to deploy React Native app to App Store, Play Store, App Center and App Gallery with one command
I no longer spend any time deploying my mobile apps to the stores or taking screenshots. How so? Learn in this article.

Hi everyone! I’ve recently launched my app called Todorant (web, iOS, Android) and after a somewhat successful article of mine “How to deploy Node.js app to Digital Ocean droplet with free Continuous Integration”, I decided to also tell you how I deploy my iOS and Android apps to the Apple App Store, Google Play Market, Microsoft AppCenter and Huawei App Gallery with one line in Terminal. That includes everything — from building the app to automatically waiting for the App Store build processing and sumbitting it for review!
Well, this was a clickbait. It is actually 4 commands in my setup, but you can easily combine them to one — even though I would question such decision, but who am I to judge, right? The three commands we will set up today are:
yarn release-androidto release the Android app to the Play Storeyarn release-iosto release the iOS app to the App Storeyarn code-pushto release the new version of React Native code to both platformsyarn release-appgalleryto release the Android app to the App Gallery
Or maybe not a clickbait, you can do yarn release-android && yarn release-ios && yarn code-push && yarn release-appgallery and wrap it in something like yarn release-all even though the code push part does not make any sense in this combo. Why would you want to push the same React Native code on top of exactly the same code that just got released to the stores?
I will not cover the basics of how to setup React Native app, basics of JS/TS/Ruby/Bash/NPM and the rest of basic tools in this article — for more in-depth information on these duckduckgo the corresponding articles and tutorials.
Release Android
Let’s say we need a command like yarn release-android that will end up in the updated metadata (including new screenshots for all the locales) on the Play Store and the new build being released to production. We’ll need to do the following:
- Increment the app version and build number
- Take screenshots for all locales
- Build release
aab - Upload screenshots and new binary, propagate it to production
- Commit and push the new version of the code
You can obviously pick whatever things you want from this list, but I’ll explain how to automate everything here. I don’t follow a specific order while explaining, so please read it all first.
We’ll start with setting up Fastlane — we are going to use it for both iOS and Android. Go ahead and complete the setup for Android for the supply tool. Don’t forget to also complete the “Fetch your app metadata” section. We will use it to submit the app to the store.
Taking screenshots
After that go on and setup screengrab following this document. Don’t worry about the actual tests implementation just yet — there are couple of tricks to it. Having an empty test suite that runs should be enough for you at this point. fastlane action capture_android_screenshots should be working by now. Also, keep in mind, you might need to manually run an Android emulator for this to work.
You should also have at least two files in the android/fastlane folder now called Fastfile and Screengrabfile (if you don’t have the latter one, create one). Let’s add another file called Appfile in the same folder just for our convenience with the following content:
json_key_file("./fastlane/your_credentials.json") # Path to the json secret file - Follow https://docs.fastlane.tools/actions/supply/#setup to get one

package_name("com.your.app") # e.g. com.krausefx.app
We added it so that Fastlane doesn’t ask us this info all the time. Your Screengrabfile can look like this:
app_apk_path("app/build/outputs/apk/debug/app-debug.apk")

tests_apk_path("app/build/outputs/apk/androidTest/debug/app-debug-androidTest.apk")

app_package_name("com.your.app")

locales ['uk', 'it-IT', 'en-US', 'ru-RU']

clear_previous_screenshots true

use_adb_root true

reinstall_app true
Most of the things are either obvious or are well explained if you duckduckgo it like fastlane app_apk_path to find the correct place in the docs. A couple of things to note though:
- Your Android emulator should not be created with Google Play services, otherwise Fastlane cannot get resulting screenshots from it
use_adb_rootis important for the same reason- The list of locales is available in the official documentation
- I repeat: you might need to manually run an Android emulator for this to work.
- I always have one running, but you can also automate running it by duckduckgo’ing
How to run Android emulator from Terminal
Let’s build the app for the screenshot taking. We’ll modify our Fastfile like this:
default_platform(:android)platform :android do
  lane :build_for_screengrab do
    gradle(
      task: 'clean'
    )
    build_android_app(
      task: 'app:assembleDebug',
    )
    build_android_app(
      task: 'app:assembleAndroidTest',
      flags: '-DtestBuildType=debug'
    )
  end
end
So far so good. Note the flags I used, without them I couldn’t build the app. By now, you should be able to run fastlane build_for_screengrab. If it fails, duckduckgo the error and fix it.
Now to the actual tests that are going to take screenshots of the app! Here’s my android/app/src/androidTest/AppTest.java: gist.github.com/backmeupplz/3fd161a4cd202bc80ca293010cb9e1fc. It is quite lengthy, but you can mostly copy-paste the code and you’ll be alright. A couple of things to note:
- I have to
sleepbefore actions a lot, especially in the very beginning, automated UI tests aren’t that good at detecting React Native loading states - You can prefix screenshot names with a digit to set the screenshot order on the Play Store
onView(allOf(withContentDescription(“Settings, tab, 3 of 3”), isDisplayed())).perform(click())was the only way that worked to touch tabbar buttonsonView(withTagValue(is(“delete”))).perform(click());was the only way to touch usual buttons- The rest of the ways that I was able to find in official documentation failed with React Native
- I could not click buttons during the tests unless they weren’t a part of
ListItemin NativeBase, so sometimes it might be a good idea to bring you buttons to the top of view hierarchy for the automated tests to be able to push them - I had to specify
accessible,accessibilityLabel, andtestIDproperties on all the buttons I wanted to touch during the tests.
By this point in this document, running fastlane action capture_android_screenshots after running fastlane build_for_screengrab should generate the screenshots for all your locales! Hurray!
Incrementing the version
I’m sure you went through hell to get the screenshots working (so did I) and after numerous failures and hours on StackOverflow, you should be familiar with the concept of “Lanes” in the Fastlane. Let’s do something simple and increment the version code and version number of the Android Build. Create a new lane in your Fastlane file:
lane :increment_android_versions do
  increment_version_code
  version = android_get_version_name()
  components = version.split('.')
  android_set_version_name(
    version_name: "#{components[0].to_s}.#{components[1].to_s}.#{(components[2].to_i + 1).to_s}",
  )
end
You can increment_version_code Fastlane plugin following the instructions here. And then the versioning_android plugin from here. The rest of the lane is just simple to follow Ruby code.
Running fastlane increment_android_versions should now do what the title says. That was easy!
Building and releasing
This part is also pretty simple, add another lane:
lane :build_and_release do
  gradle(
    task: 'bundle',
    build_type: 'Release'
  )
  supply(
    skip_upload_apk: true,
    aab: './app/build/outputs/bundle/release/app.aab'
  )
end
Yes, this is it. It builds the app and submits it as a new release, publishing the binary to the Play store. I won’t tell you to test the lanes now — you know that you need to do it and you know how to.
Committing and pushing
Super simple: I want to finish my release process by pushing the changed code to the git repository in the cloud (remember, we changed the version numbers at the least). Create a new lane:
lane :commit_and_push_android_release do
  git_add
  git_commit(
    message: "android release",
    path: "."
  )
  push_to_git_remote
end
Compiling it all together
Quite a collection of lanes you have here! Let’s create our master lane that combines the power of all the infinity stones!
lane :release do
  increment_android_versions
  build_for_screengrab
  capture_android_screenshots
  build_and_release
  commit_and_push_android_release
end
Woah, now you can just run fastlane release from the android folder, sit back and see how much time you are saving every time you do a release! A couple of things to note:
- You can combine it in a yarn script like
cd android && fastlane release && cd ..and call ityarn release-android. - You can create file
android/fastlane/metadata/android/{locale}/changelogs/default.txtto provide the default changelog for all releases.
Release iOS
Now we want to have a command yarn release-ios that will do the following things:
- Increment version and build numbers
- Build the app
- Take screenshots
- Upload binary and metadata (including screenshots) to the App Store
- Wait on your behalf for the build to finish processing and automatically submit it for review
- Commit and push the new code to git
Just like with Android, you have to setup Fastlane and setup screenshots taking tool following the documentation. By this point you have to have the Fastfile and Snapfile in the ios/fastlane folder of your project. You Fastfile can look like this:
default_platform :iosplatform :ios do
  before_all do
    cocoapods
  end
end
Which just installs the cocoapods before anything else. Your Snapfile can look like this:
devices([
  "iPhone SE",
  "iPhone 7",
  "iPhone 7 Plus",
  "iPhone X",
  "iPad Pro (9.7-inch)",
  "iPad Pro (10.5-inch)",
  "iPad Pro (12.9-inch) (2nd generation)",
  "iPad Pro (12.9-inch) (3rd generation)",
  "iPad Pro (11-inch) (2nd generation)",
])languages([
  "uk",
  "en-US",
  "ru",
  "it",
])launch_arguments(["FASTLANE_SNAPSHOT"])scheme "UITestsScheme"
output_directory "./fastlane/screenshots"
clear_previous_screenshots true
workspace "./YourProject.xcworkspace"
ios_version "13.3"
launch_arguments
reinstall_app true
stop_after_first_error true
concurrent_simulators false
derived_data_path "./derived"
It’s all self-explanatory and the FASTLANE_SNAPSHOT environment variable is used somewhere in my code to alter the app behavior for the purpose of taking screenshots. The list of available locales can also be found in the official Fastlane documentation. The list of the devices here is exhaustive at the moment of writing this article.
Let’s take screenshots!
Again, my ios/ProjectNameUITests/ProjectNameUITests.swift is too long to post in this article, so I posted it here. Couple of things worth noting:
- I’m
sleepinghere a lot for the same reason as on Android app.buttons[“Settings, tab, 3 of 3”].tap()was the only way to tap tabbar that workedapp.otherElements[“delete”].tap()was the only way to tap usual buttons that worked- The rest of the Android points about taking screenshots also applies here
- Fastlane will open simulators for you, no need to open them beforehand
- Make sure to enable the correct simulators in Xcode.
By now, fastlane snapshot in the ios folder should work. If it fails, fix it first before continuing!
Incrementing the version
There is no need to create new lanes. Fastlane already provides us with increment_version_number and increment_build_number actions!
Build the app
We can create a new lane here just to encapsulate the arguments but it is not required:
lane :build do
  build_app(
    scheme: "YourScheme",
    silent: true
  )
end
Upload and release
Let’s create another lane:
lane :upload do
  upload_to_app_store(
    submit_for_review: true,
    automatic_release: true,
    submission_information: {
      export_compliance_available_on_french_store: "",
      export_compliance_contains_proprietary_cryptography: "",
      export_compliance_contains_third_party_cryptography: "",
      export_compliance_uses_encryption: "false",
      export_compliance_is_exempt: "",
      export_compliance_encryption_updated: "false"
    }
  )
end
Note the submission_information, I had to add it — otherwise Fastlane failed to publish the app.
Commit and push to git
This lane is going to be pretty much the same as on Android:
lane :commit_and_push_ios_release do
  git_add
  git_commit(
    message: "ios release",
    path: "."
  )
  push_to_git_remote
end
Combining it all together
Let’s create a giant release lane!
lane :release do
  increment_version_number
  increment_build_number
  capture_screenshots
  build
  upload
  commit_and_push_ios_release
end
Whaaaaaaaat?! Was it this simple?! Just run fastlane release and observe. If you did everything right — the app will incremend the version number, capture screenshots for all the locales and all the screen sizes, build the app, upload it to the App Store, wait until build is finished processing, submit the build for review, commit and push the changes (at least the new version number) to git. All without your presence! This is what I call automation.
Obviously, you can combine it into a yarn release-ios command like cd ios && fastlane release && cd ...
Releasing the Code Push!
Oh sweet code push that allows you to ship the React Native code bypassing the stores’ reviews! How many times it saved the developers from having to wait hours (days, weeks) before a major bugfix can be out!
You can find more information about what it is in the official docs. Go on, follow them (the setup process is pretty painless) and set it up. Here I’ll just share some code snippets with you that I use.
First of all, I use the following options for the Code Push in my project, you can read what they mean in the official documentation:
{
  checkFrequency: codePush.CheckFrequency.ON_APP_RESUME,
  installMode: codePush.InstallMode.IMMEDIATE,
}
Secondly, I have the following scripts in my package.json:
"code-push": "yarn git-pre-code-push && yarn code-push-ios && yarn code-push-android",
"code-push-ios": "appcenter codepush patch -a borodutch/ProjectIOS --disabled Production && appcenter codepush release-react -a borodutch/ProjectIOS -d Production -m",
"code-push-android": "appcenter codepush patch -a borodutch/ProjectAndroid --disabled Production && appcenter codepush release-react -a borodutch/ProjectAndroid -d Production -m",
"git-pre-code-push": "versiony src/@utils/version.json --newmajor && git add . && git commit -m 'codepush' && git push"
Let’s go bottom to top. git-pre-code-push uses versiony-cli to update the version.json file with the following content:
{
  "version": "36.0.0"
}
I require it in the Settings view of the app to display the app version to the users. git-pre-code-push simply increments it and updates the git repository. git-pre-code-push is used by the common command to push code to both iOS and Android. Then some magic with AppCenter CLI is used.
appcenter codepush patch -a borodutch/ProjectName disabled Production disables the most recent release. I want only one release to be available at a time.
appcenter codepush release-react -a borodutch/Project -d Production -m bundles the JS code, uploads it to the AppCenter, and the -m flag makes this release mandatory.
You can see how I can push the new version of the React Native code to both iOS and Android by simply running yarn code-push command now.
This is my trick to have daily releases. I used the open source software to automate every single aspect of the release process!
Release to App Gallery
I've recently added Todorant to the App Gallery — alternative Android store made by Huawei. Obviously, I still want to keep the app up-to-date there and I would like to automate the upload process. I won't get into details on how to setup your app listing, client id and secret on App Gallery Connect, instead I'll focus on what I did to automate the process.
Make sure to generate a new keystore for the App Gallery (or you can use the one from the Play Store, then just skip the replace steps below).
We are building yarn release-appgallery here. Let's define this script as cd android && fastlane release_appgallery. Let's define a new lane in our Fastfile:
lane :release_appgallery do
  sh("./replace-keystore.sh") # 1
  gradle( # 2
    task: 'assemble',
    build_type: 'Release'
  )
  huawei_appgallery( # 3
    client_id: "your_client_id",
    client_secret: "your_client_secret",
    app_id: "your_app_id",
    release_notes: {
      "en-US" => "Bug fixes",
    },
    apk_path: "./app/build/outputs/apk/release/app-release.apk"
  )
  print "Waiting for processing\n" # 4
  sleep(150) # 5
  huawei_appgallery_connect_submit_for_review( # 6
    client_id: "your_client_id",
    client_secret: "your_client_secret",
    app_id: "your_app_id"
  )
  sh("./replace-keystore-back.sh") # 7
end
That's a lot! Let's break it down.
- Script to swap keystores
I created a new keystore for the App Gallery with the same aliases and passwords as the one for the Play Store. You can skip this step if you used the same keystore file as when you upload to the Play Store. The only thing I need to change in the android/gradle.properties is the location of the keystore. Before running this lane, my gradle.properties looks like this:
android.useAndroidX=true
android.enableJetifier=true

MYAPP_UPLOAD_STORE_FILE=keystore.keystore
#MYAPP_UPLOAD_STORE_FILE=appgallery/keystore.keystore
MYAPP_UPLOAD_KEY_ALIAS=release-key
MYAPP_UPLOAD_STORE_PASSWORD=password
MYAPP_UPLOAD_KEY_PASSWORD=password

org.gradle.daemon=true
org.gradle.configureondemand=true
org.gradle.jvmargs=-Xmx4g -XX:MaxPermSize=2048m -XX:+HeapDumpOnOutOfMemoryError -Dfile.encoding=UTF-8
You might have figured that the script simply changes which store is commented out. I have replace installed globally and you can install it as well like yarn global add replace. Here's the actual script:
replace 'MYAPP_UPLOAD_STORE_FILE=keystore.keystore' '#MYAPP_UPLOAD_STORE_FILE=keystore.keystore' ../gradle.properties
replace '#MYAPP_UPLOAD_STORE_FILE=appgallery/keystore.keystore' 'MYAPP_UPLOAD_STORE_FILE=appgallery/keystore.keystore' ../gradle.properties
2. Building the app. None of the fastlane plugins support uploading aab yet and I didn't want to spend too much time on it, so we'll roll with apk.
3. Upload the apk file to the App Gallery store
We are using a modified version of the fastlane-plugin-huawei_appgallery plugin here, so make sure to install it from my fork here. Here's how you can pull the plugin from my GitHub repository. Make sure to use bundle to run your fastlane from now on because global Fastlane installation won't pull plugins from the GitHub.
My fork differs from the original plugin by not trying to submit the binary for review. App Gallery asks you to wait for 2-5 minutes between uploading a binary and submitting it for review because of the processing time. I could have just added a sleep here, but I decided to use two modified plugins instead. Maybe it's a bad decision, but it works.
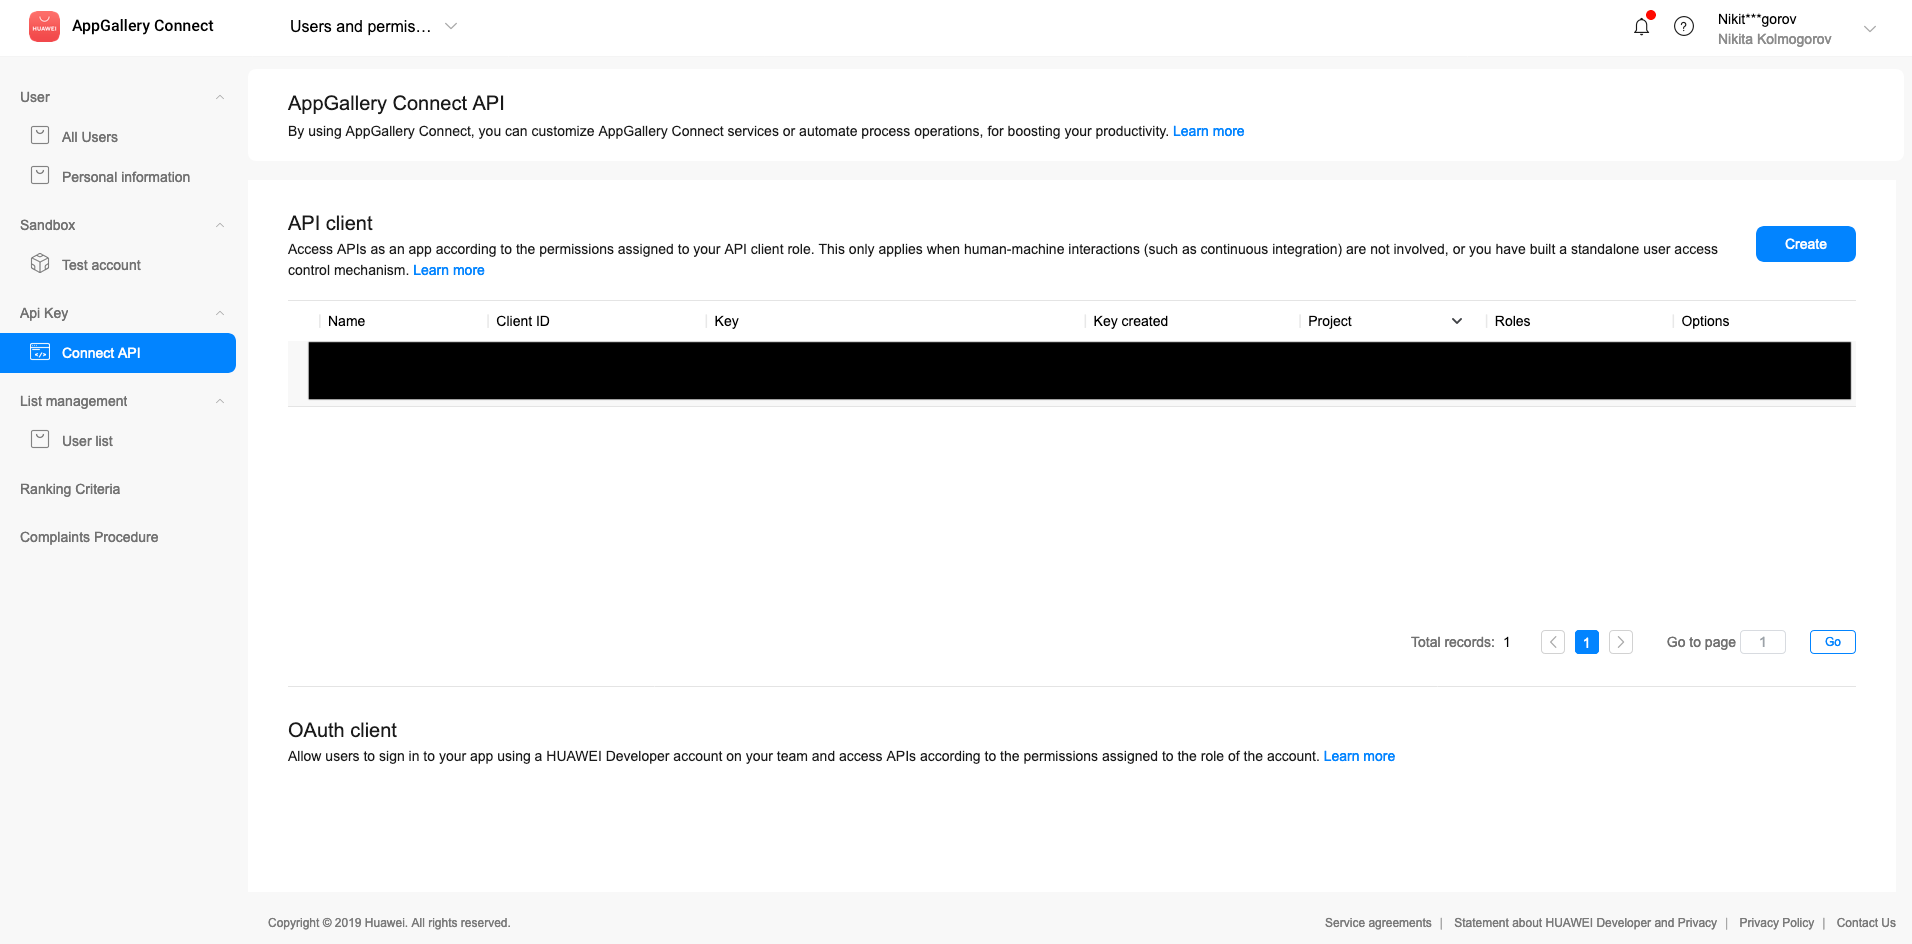
You can get your client id and secret from the App Gallery Connect. Make sure to go to the keys section of the App Gallery Connect, there is only one option to create a key. I spent a couple of hours trying to create keys in a wrong place.
4. Just printing out the step for my convenience
5. Actually waiting for 150 seconds untill the build is processed
6. Submitting the app for review
Here I'm using my fork of the fastlane-plugin-huawei_appgallery_connect Fastlane plugin. You can get my fork here. I just fixed the huawei_appgallery_connect_submit_for_review action, it was broken before.
7. Reverting #1
Here's the script:
replace '#MYAPP_UPLOAD_STORE_FILE=keystore.keystore' 'MYAPP_UPLOAD_STORE_FILE=keystore.keystore' ../gradle.properties
replace 'MYAPP_UPLOAD_STORE_FILE=appgallery/keystore.keystore' '#MYAPP_UPLOAD_STORE_FILE=appgallery/keystore.keystore' ../gradle.properties
And that's all! Now you can run yarn release-appgallery and go make a cup of tea while the app builds and gets submitted to the App Gallery store!
Conclusion
Thank you a lot for reading this article! I hope you can shrink your release cycle with this small overview of the tools available on the Internet.
If you feel like this article helped you or you saved money by automating the release process, please, check out Todorant — it’s a smart todo list app that tricks your brain into completing task and feeling good about it. Available on web, iOS, and Android!
Cheers!