How to run a Farcaster Hub on a Raspberry Pi
Running a Farcaster has never been so easy and cheap! Here's how, step-by-step.


G'day Internet! I got my Pi 5 from Canakit and decided to run a Farcaster Hub on it to replace a somewhat expensive (~$48/month) VPS with it for the free farcaster hub project that I run. In this article, I'm going to give you a step-by-step guide on how to run a full-on hub from your Pi 5!
What you'll need
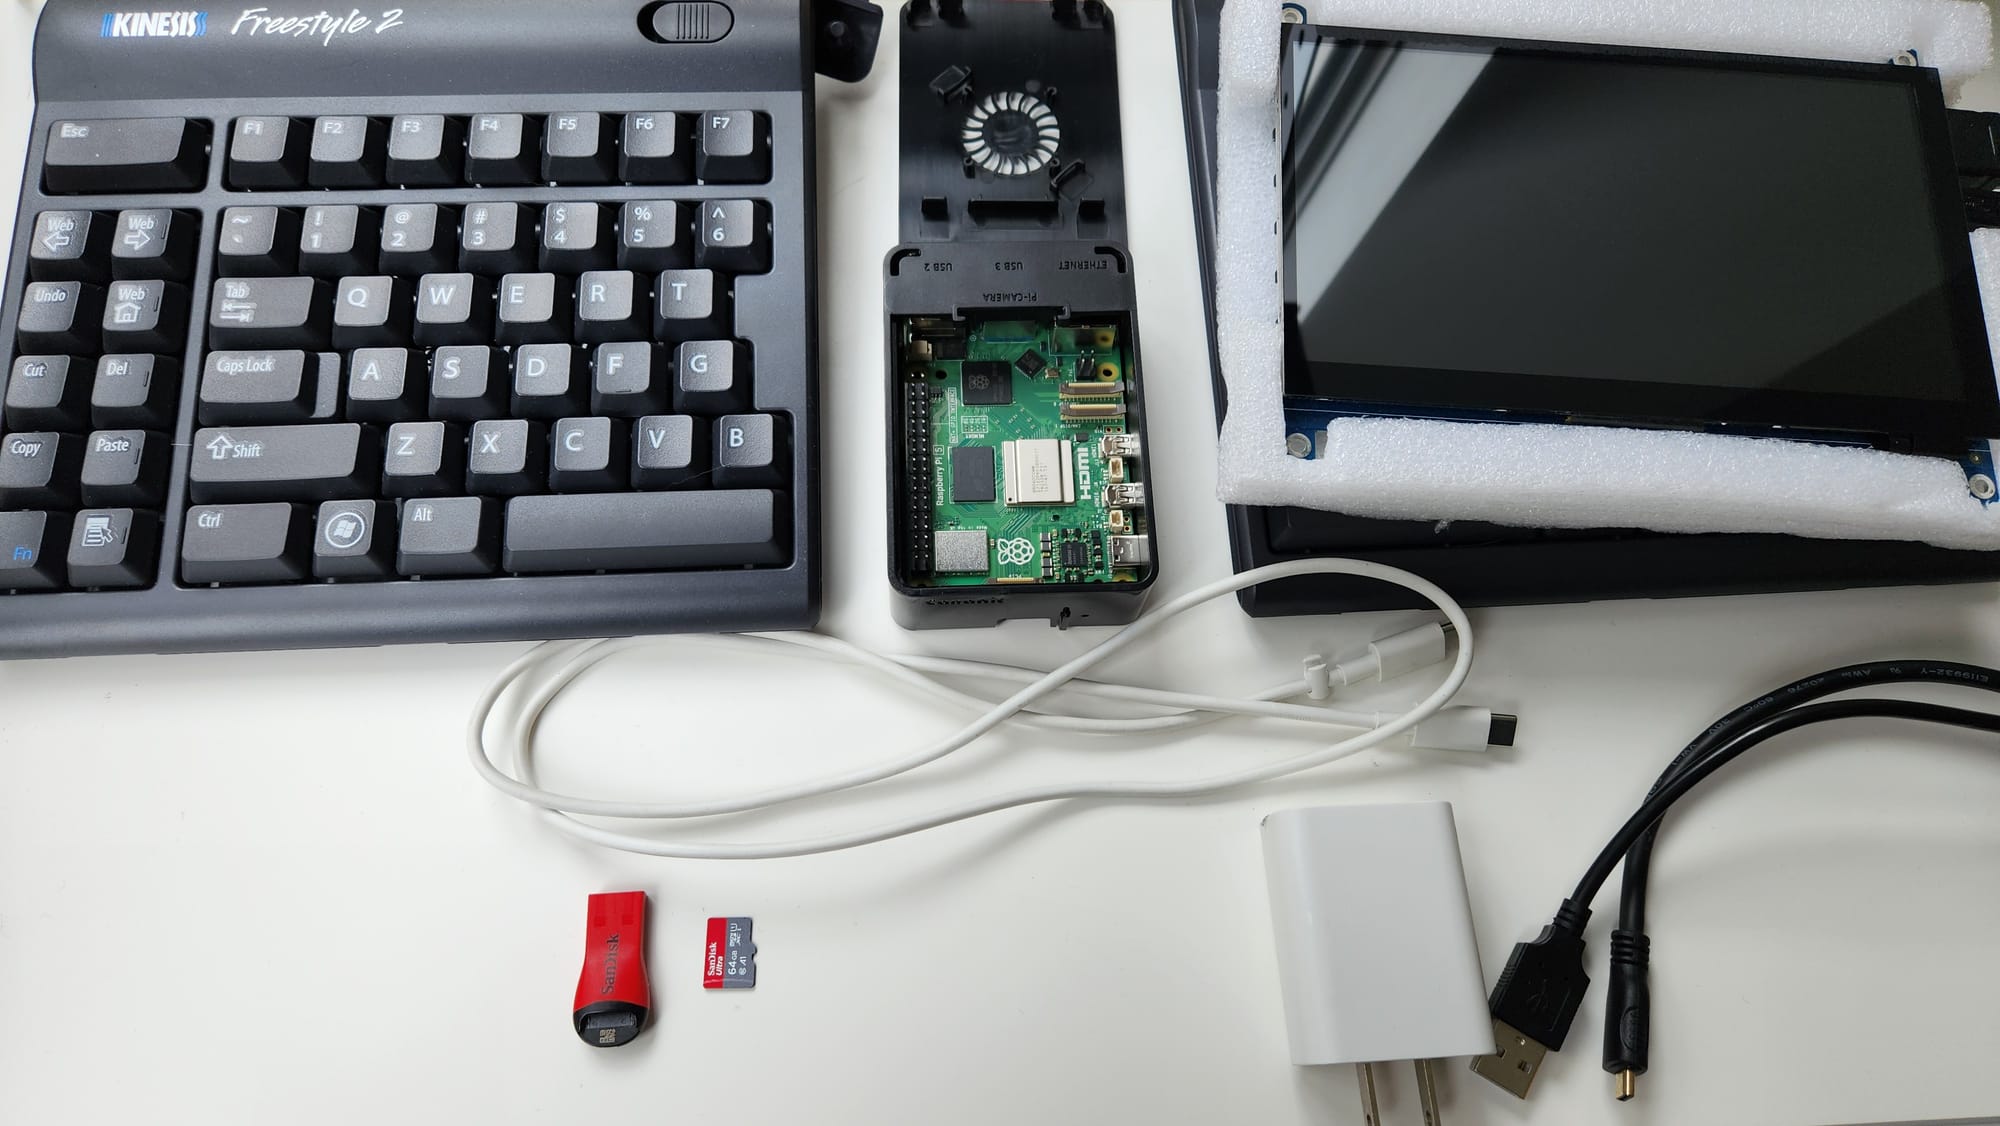
- Pi 5 (or any other Pi with Internet connectivity, 8GB RAM, and 2-core CPU)
- Optionally, you can get a rad case by 3D-printing or buying it (like I did)
- MicroSD (needs at least 20GB to run a Hub)
- MicroSD adapter to connect it to a computer to etch the system (you won't need it if your computer accepts a microSD)
- Input devices (e.g., keyboard and mouse; in my case, it's a USB keyboard and a touch screen that was lying around)
- USB-C power adapter with at least 3A output and a cable (happy to see USB-C here as opposed to what Zero-W has)
Got everything you need? Let's go install OS on this bad boy.
Installing OS
We can install Ubuntu or Pop!_OS on Pi 5, but I really don't want to deal with anything that is poorly optimized for a Pi (apparently, both are well optimized, but I don't want to spend any extra time in case anything goes wrong).
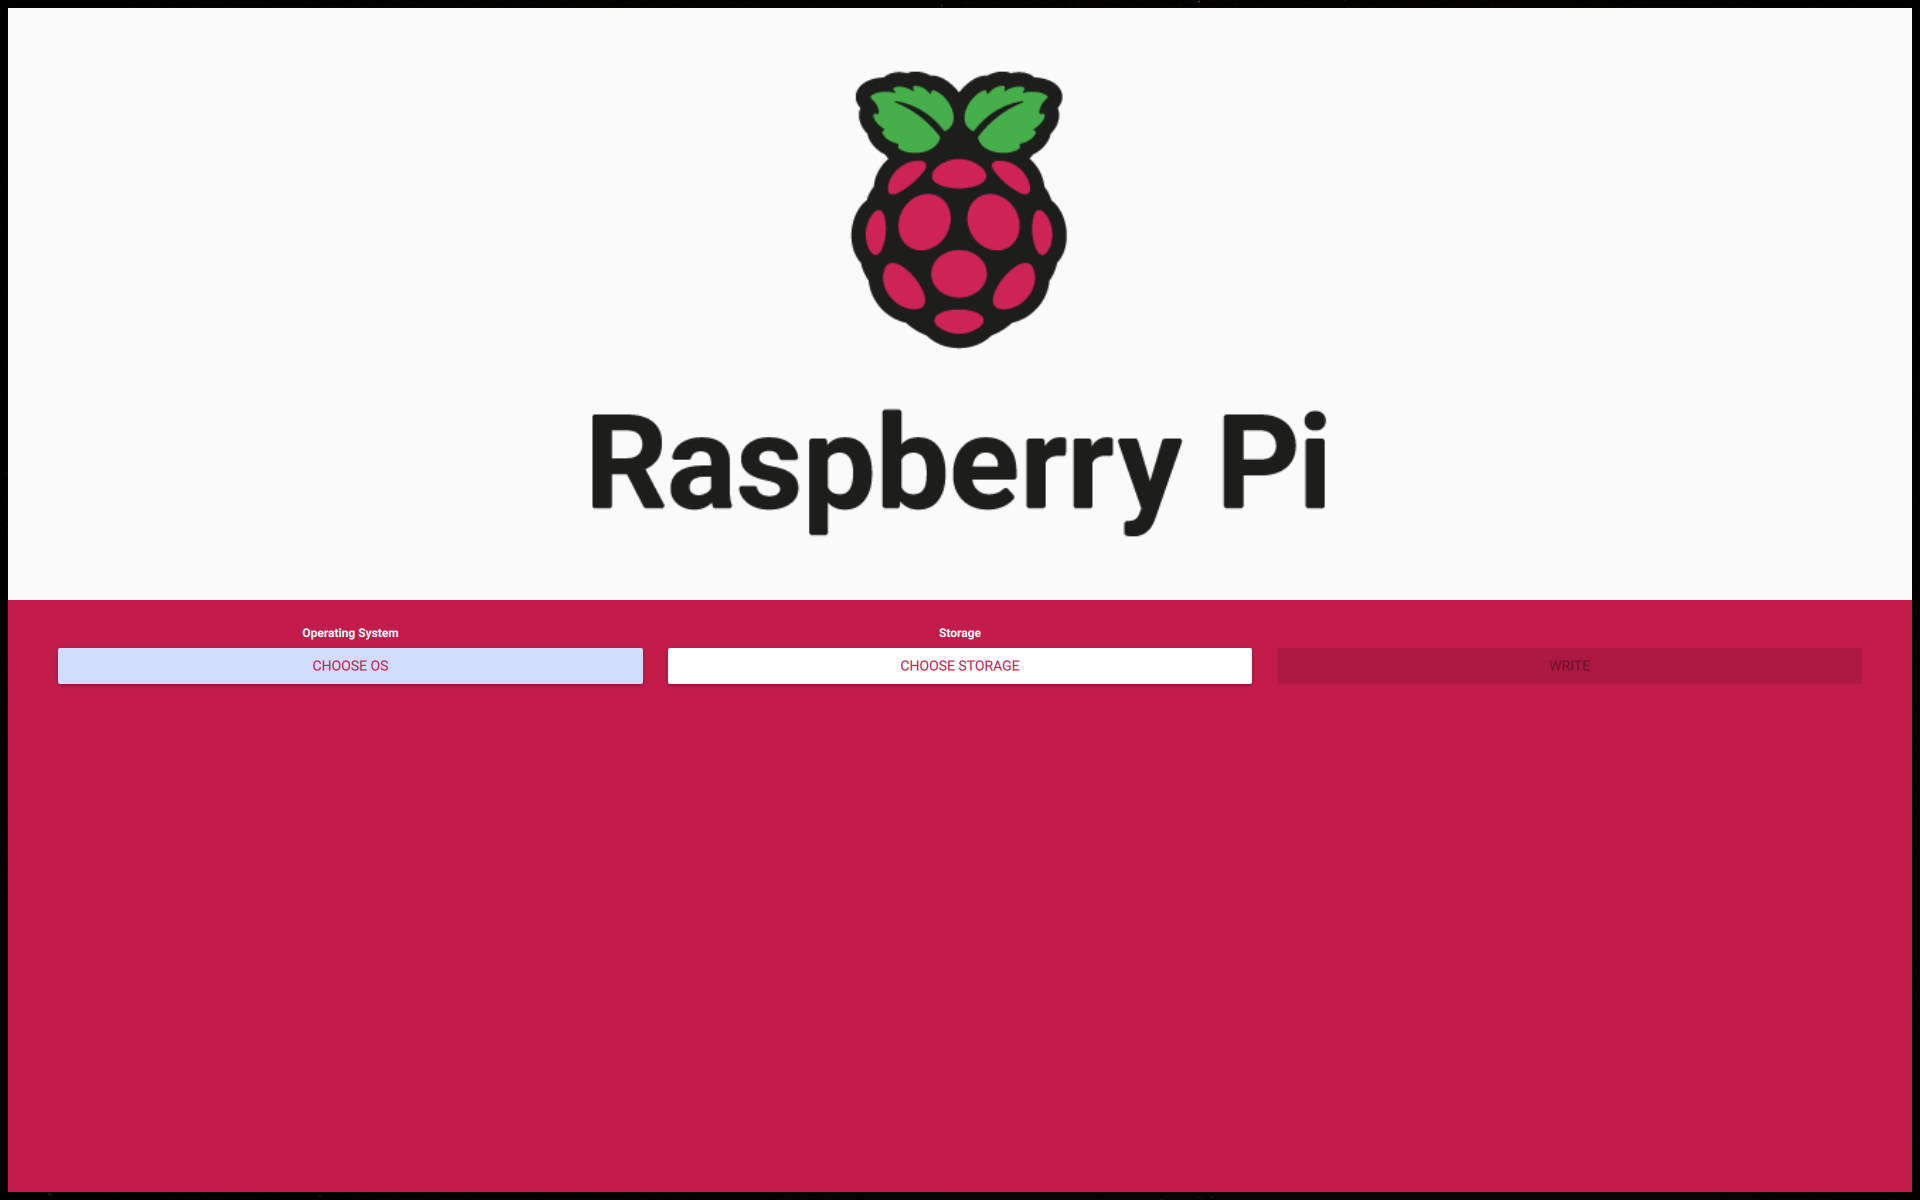
We will install Raspberry Pi OS on the microSD we've got here. Go to the official Raspberry Pi OS website and install Raspberry Pi Imager. I'm on Linux, so it is as easy as running sudo apt install rpi-imager!
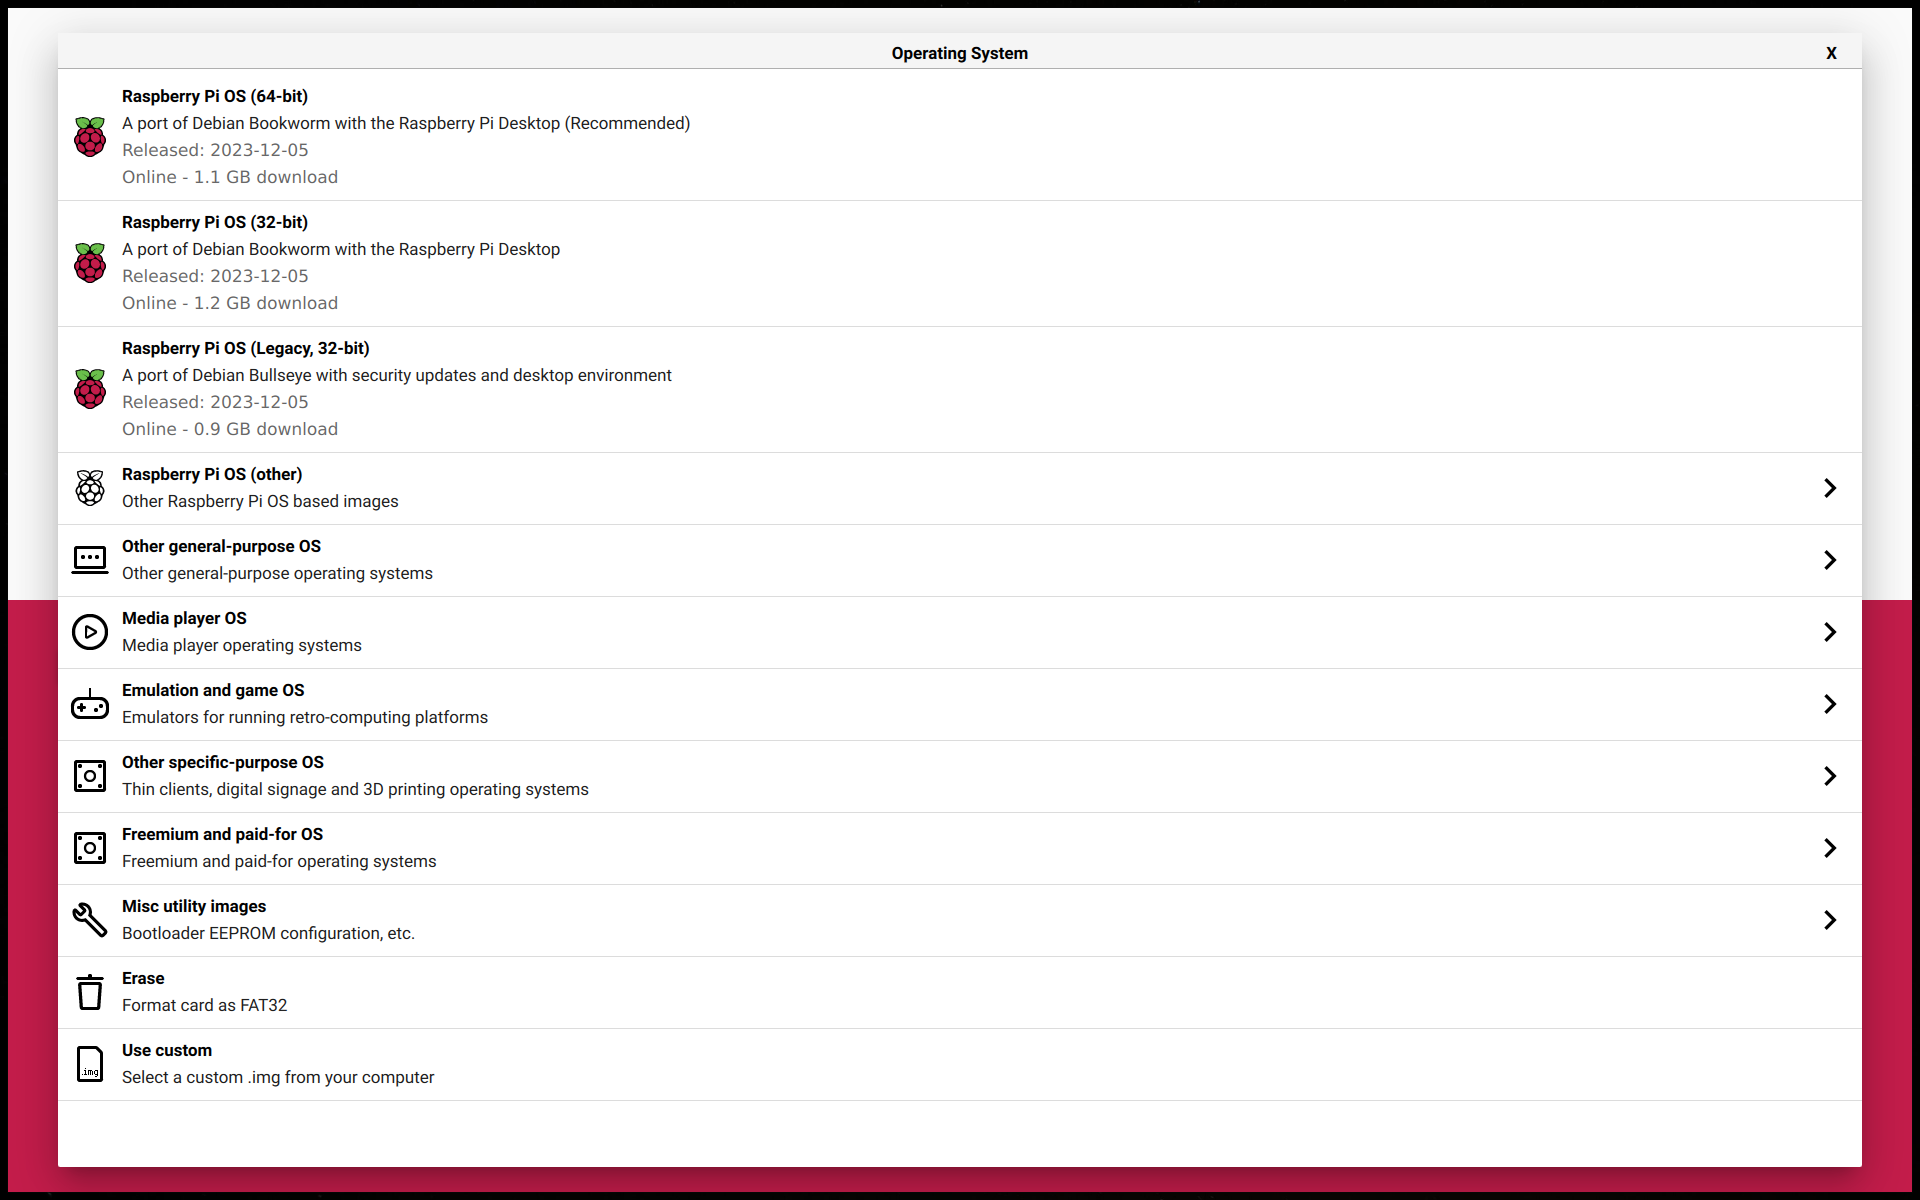
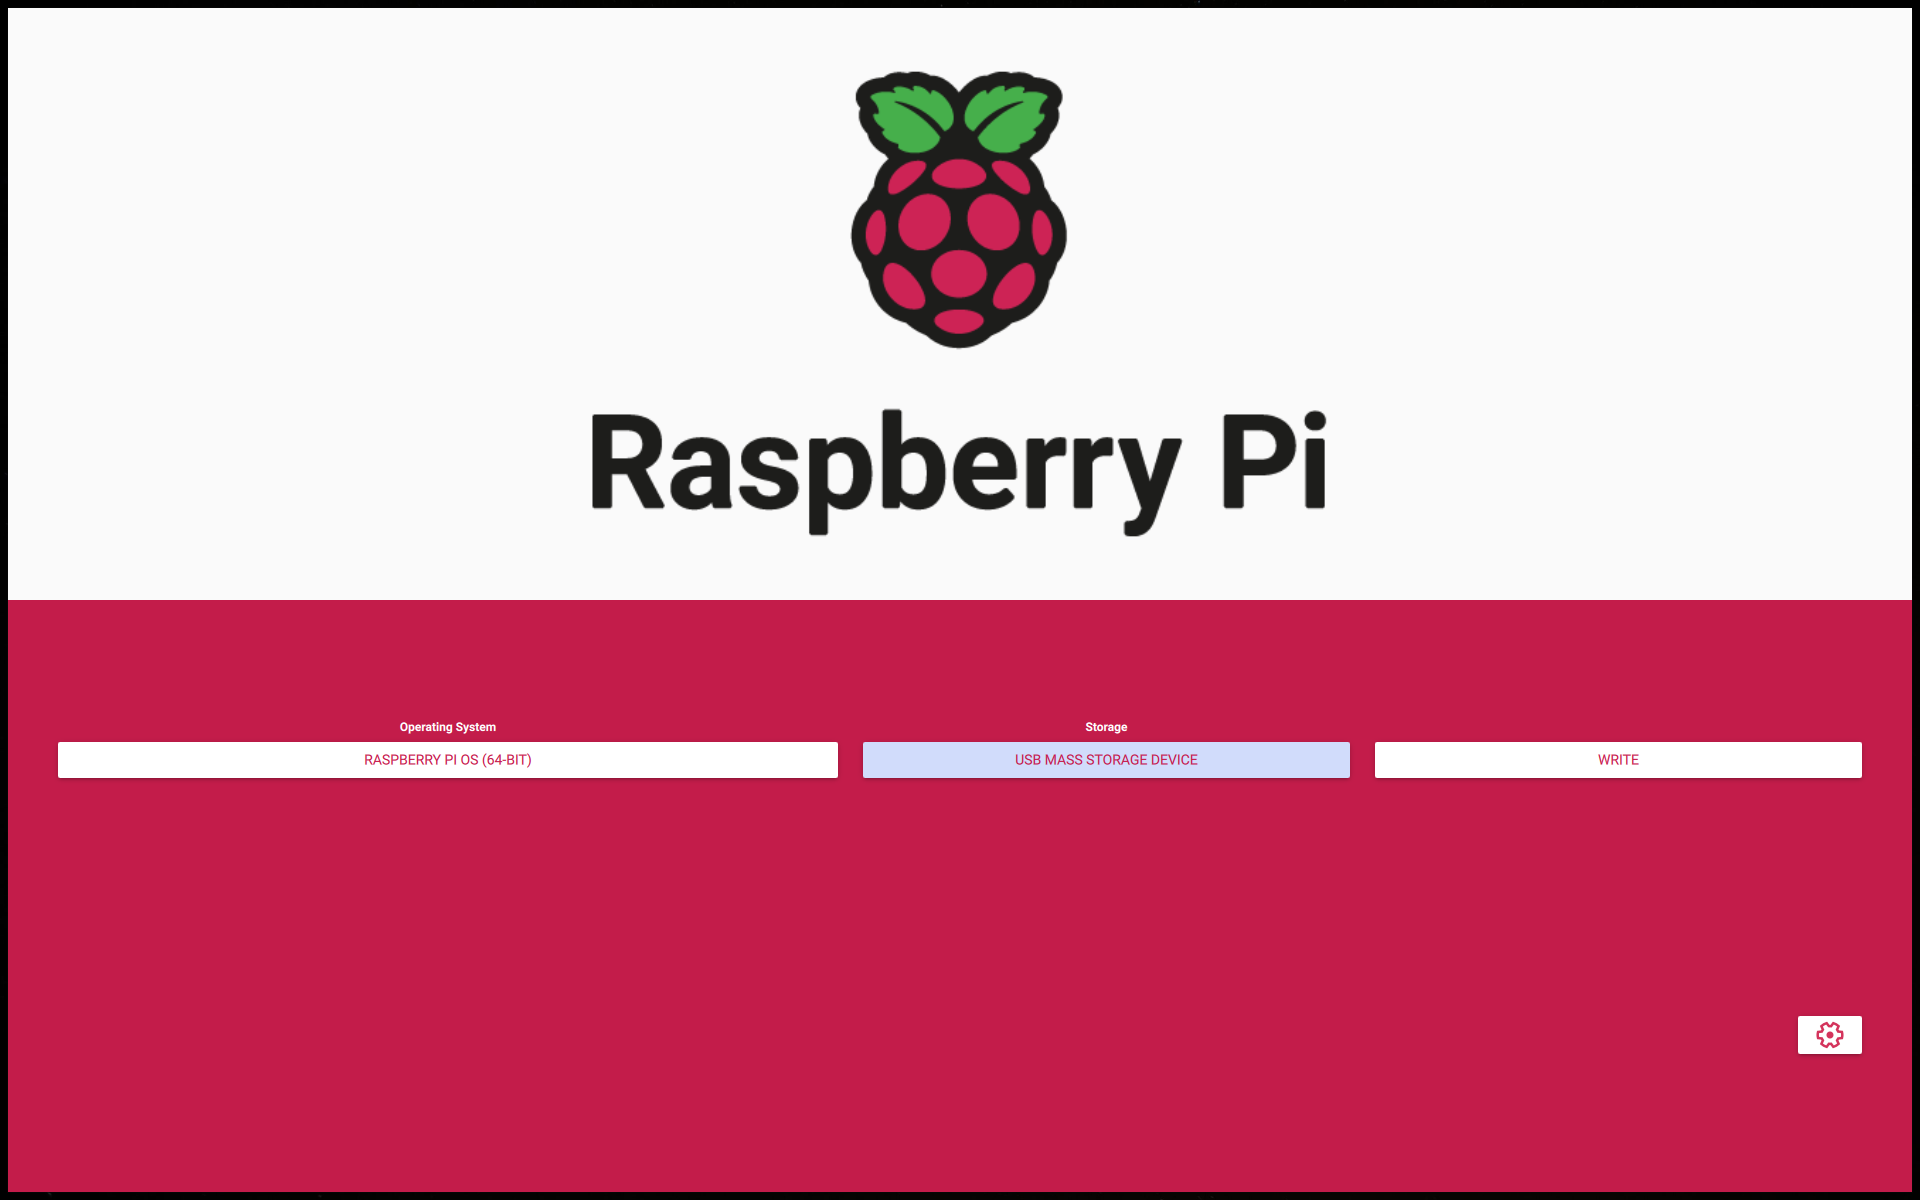
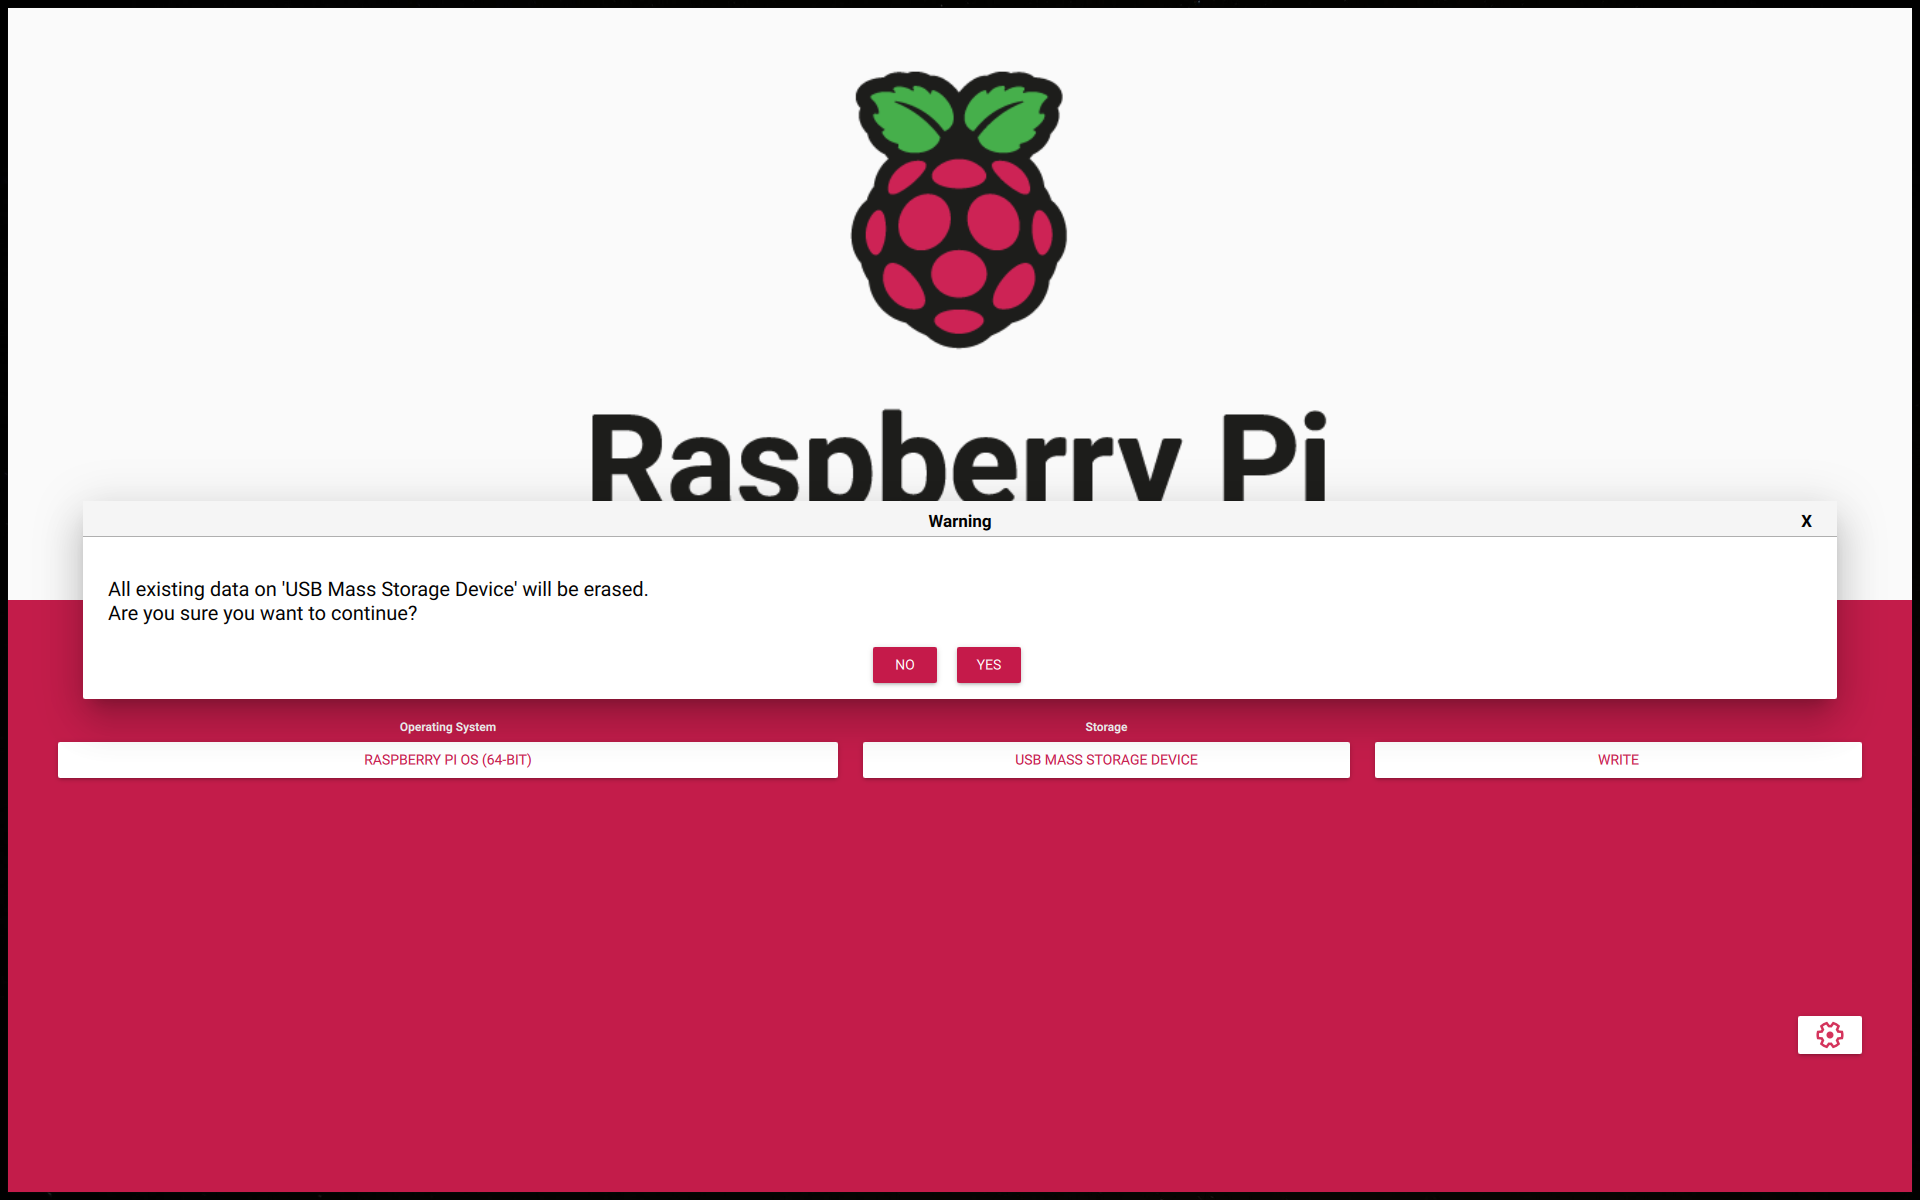
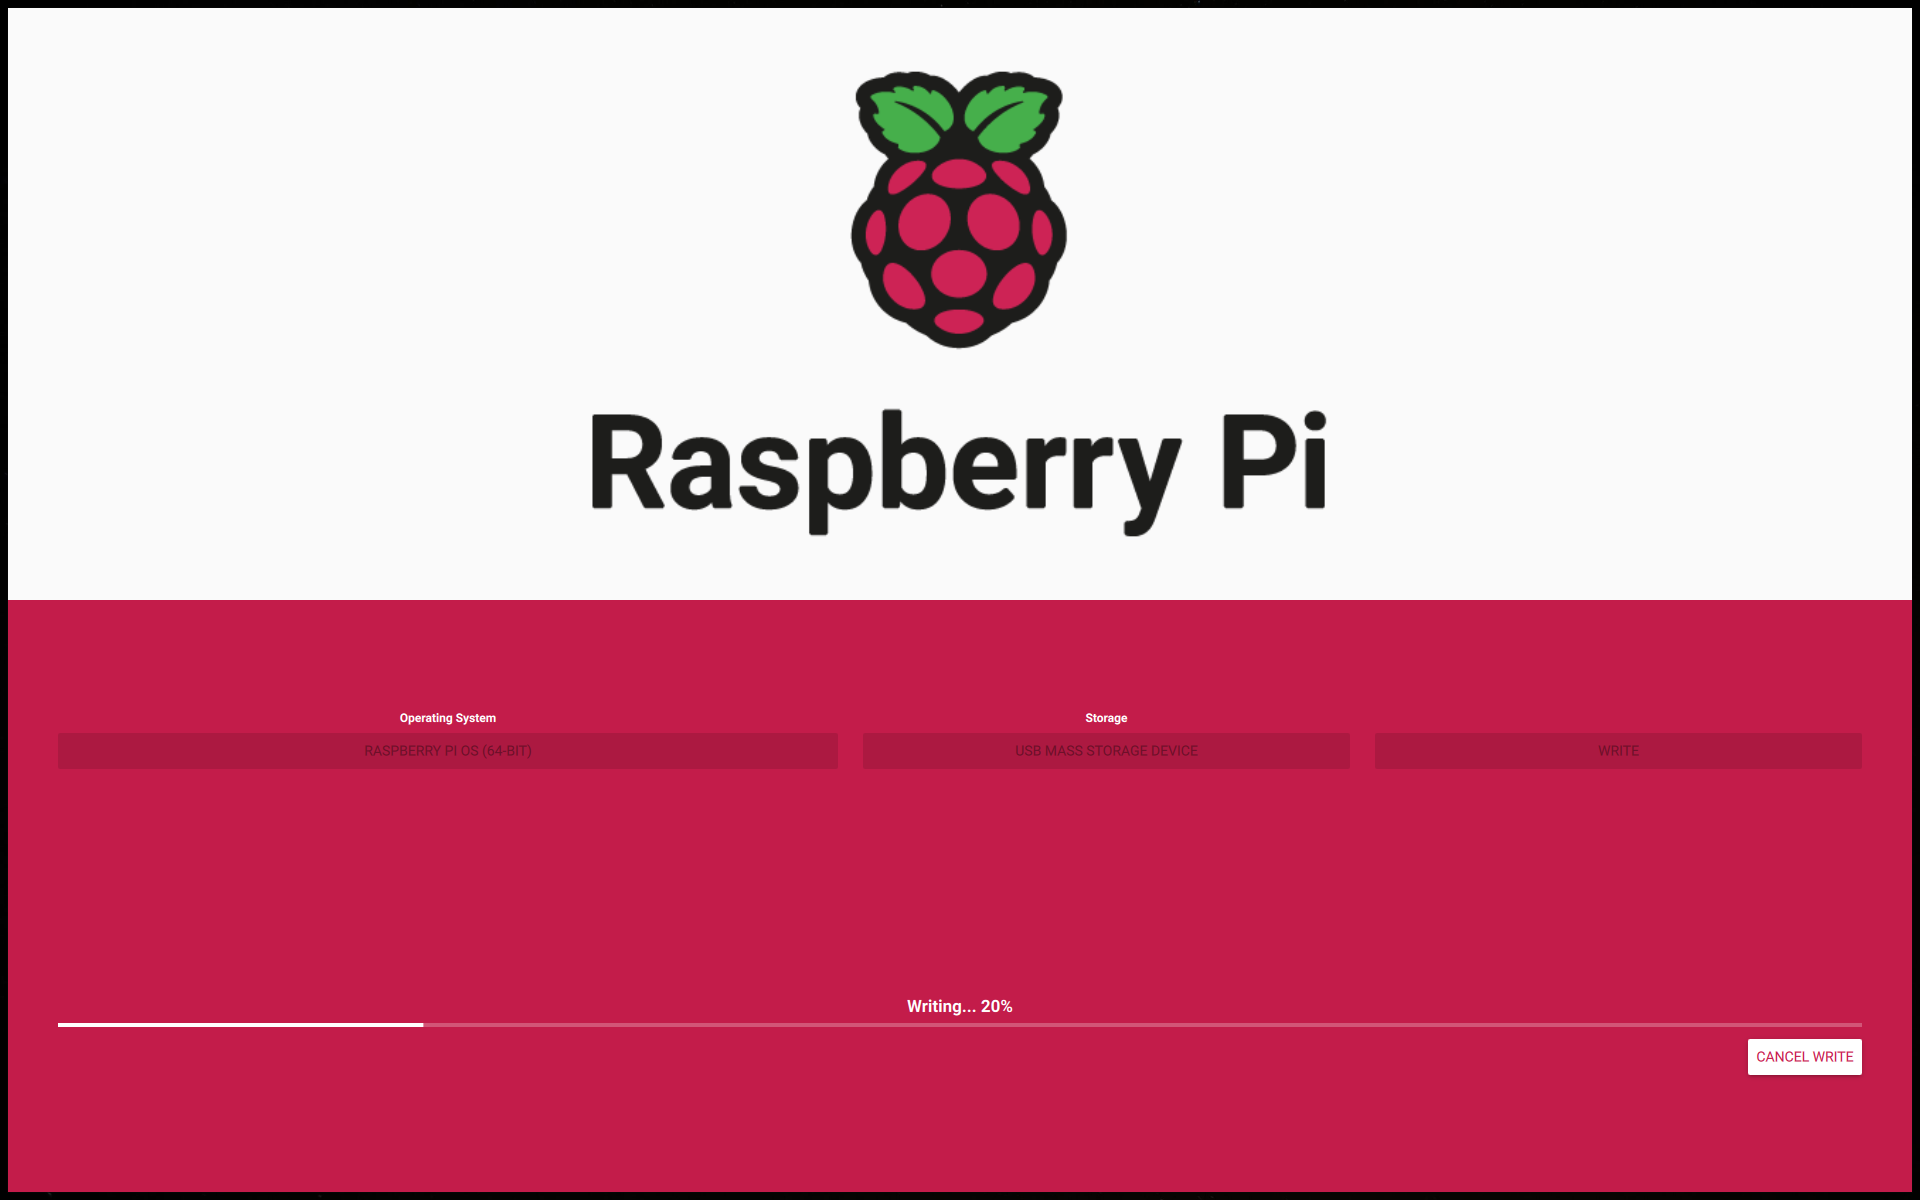
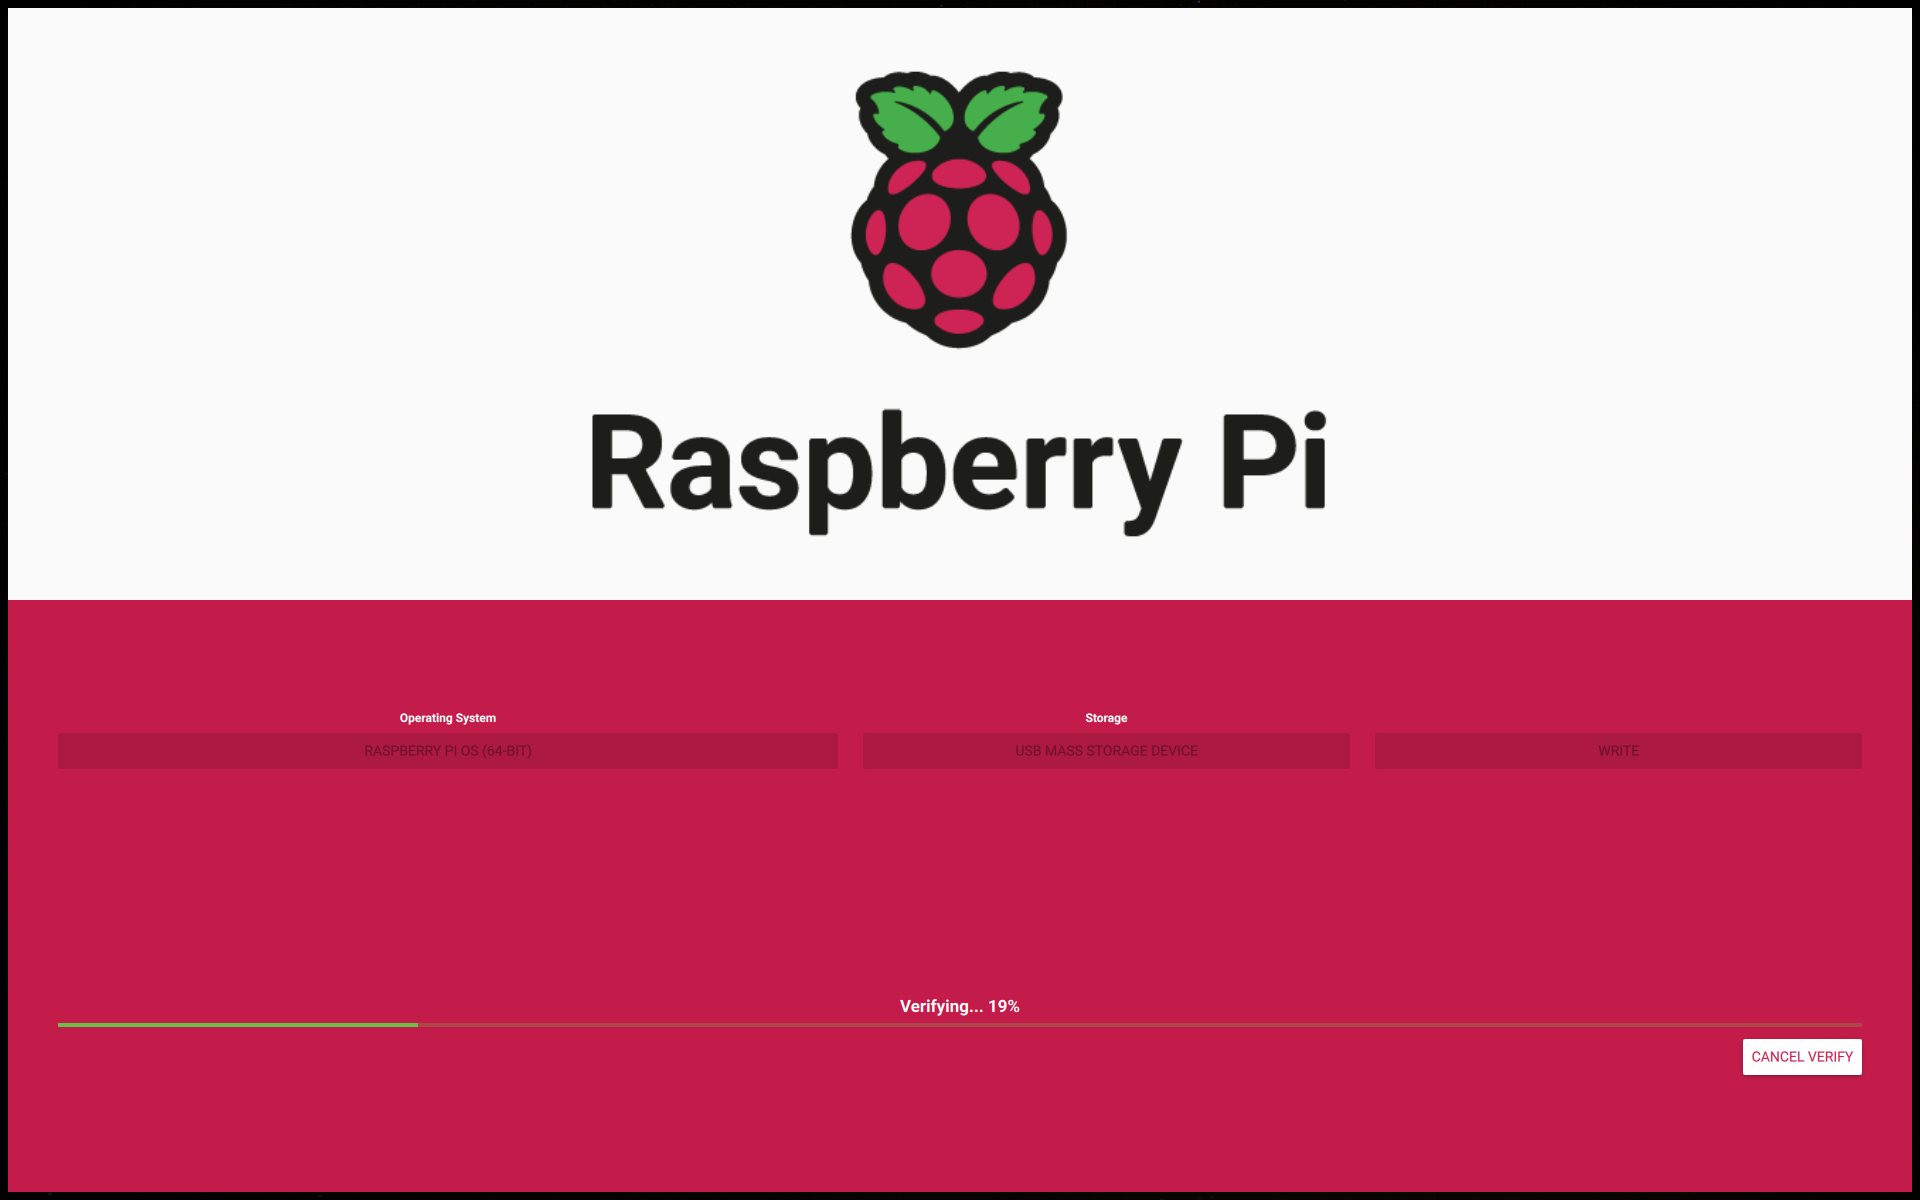
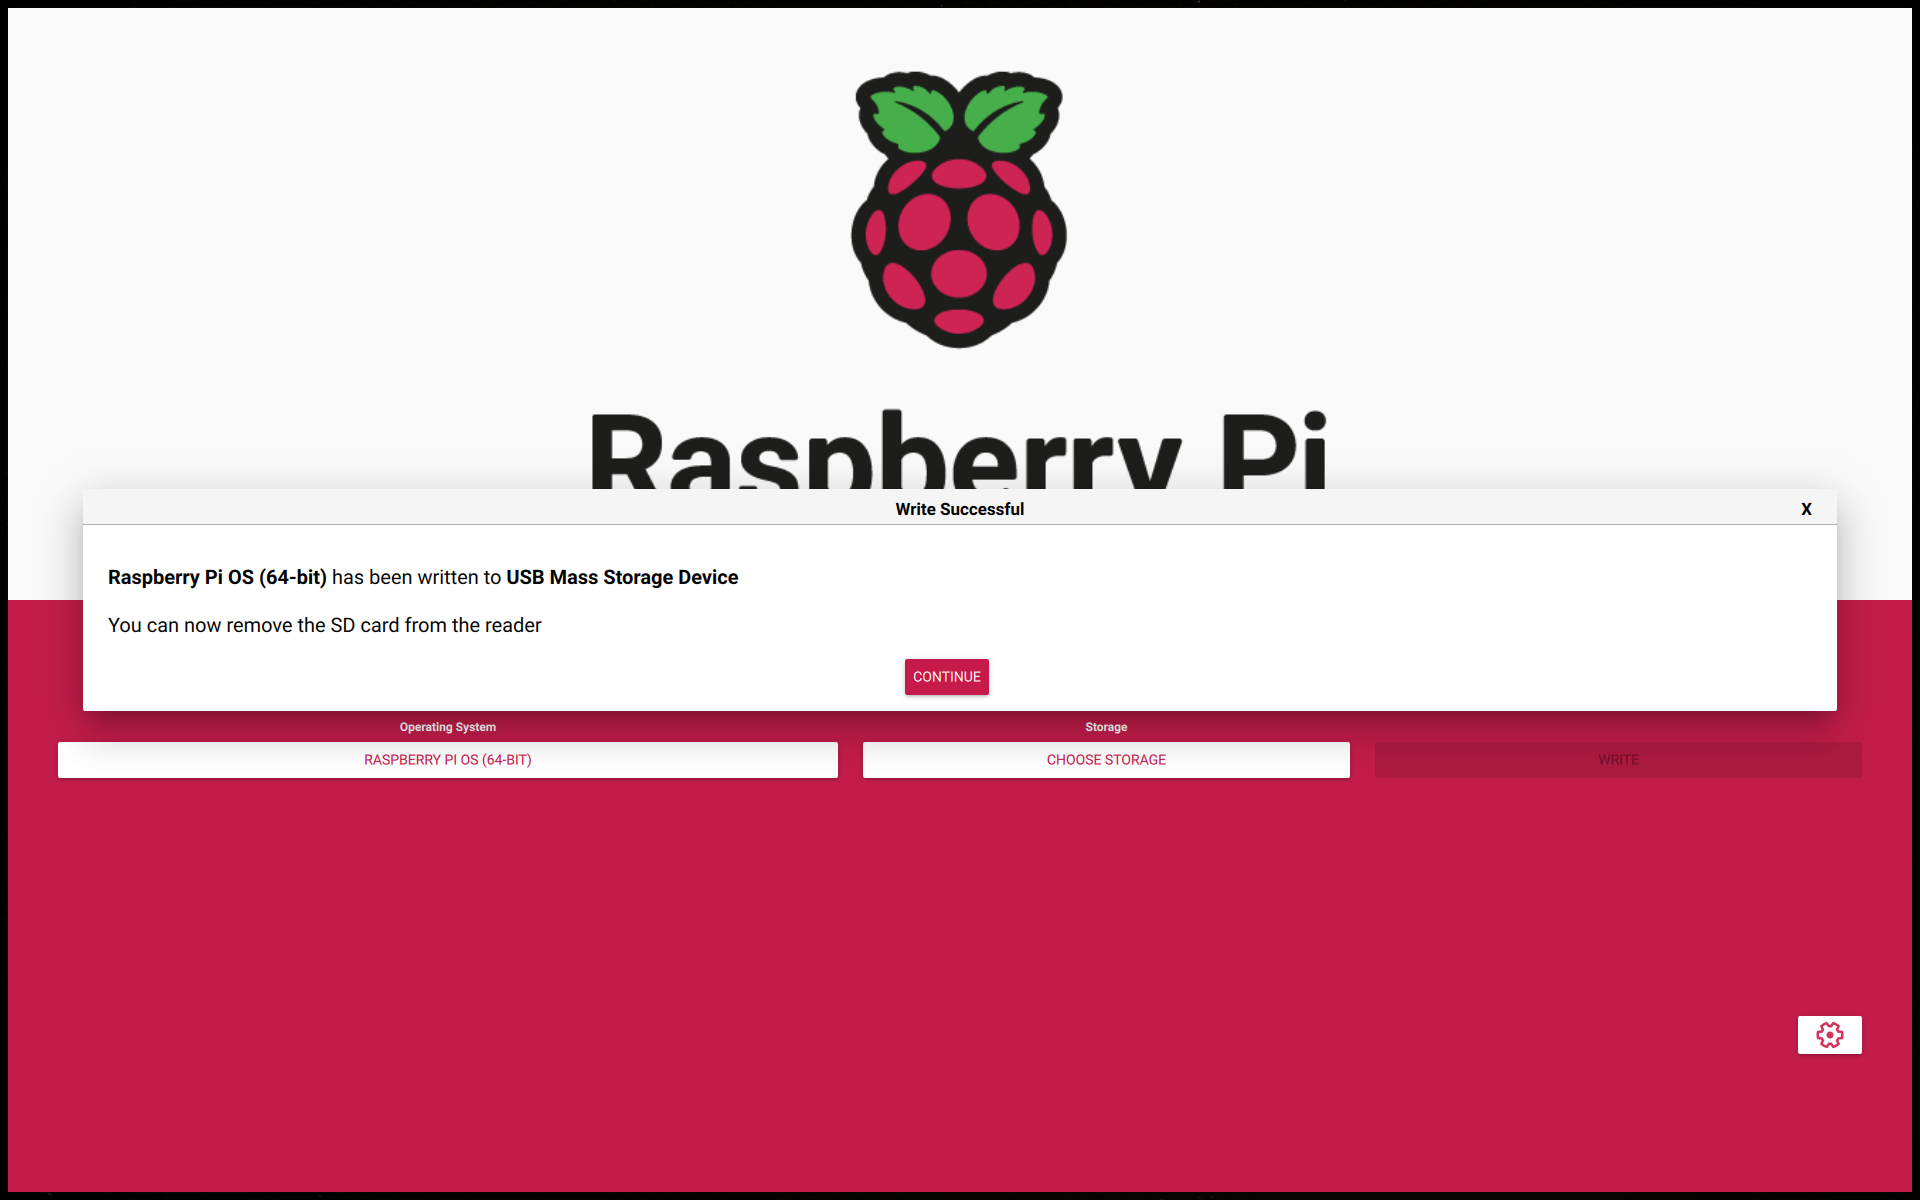
Launch the app, select the 64-bit Raspberry Pi OS, and hit the "Write" button. All the data on the microSD will be erased, FYI.
Any configuration beyond the initial OS setup will be happening over SSH. Mostly because I like using Terminal more than GUI, but also because I don't want to deal with copy-pasting content between Pi and my main computer, like text, commands, screenshots, etc. Oh, and my HDMI connector is quite old and fails miserably if not twisted "the right way."
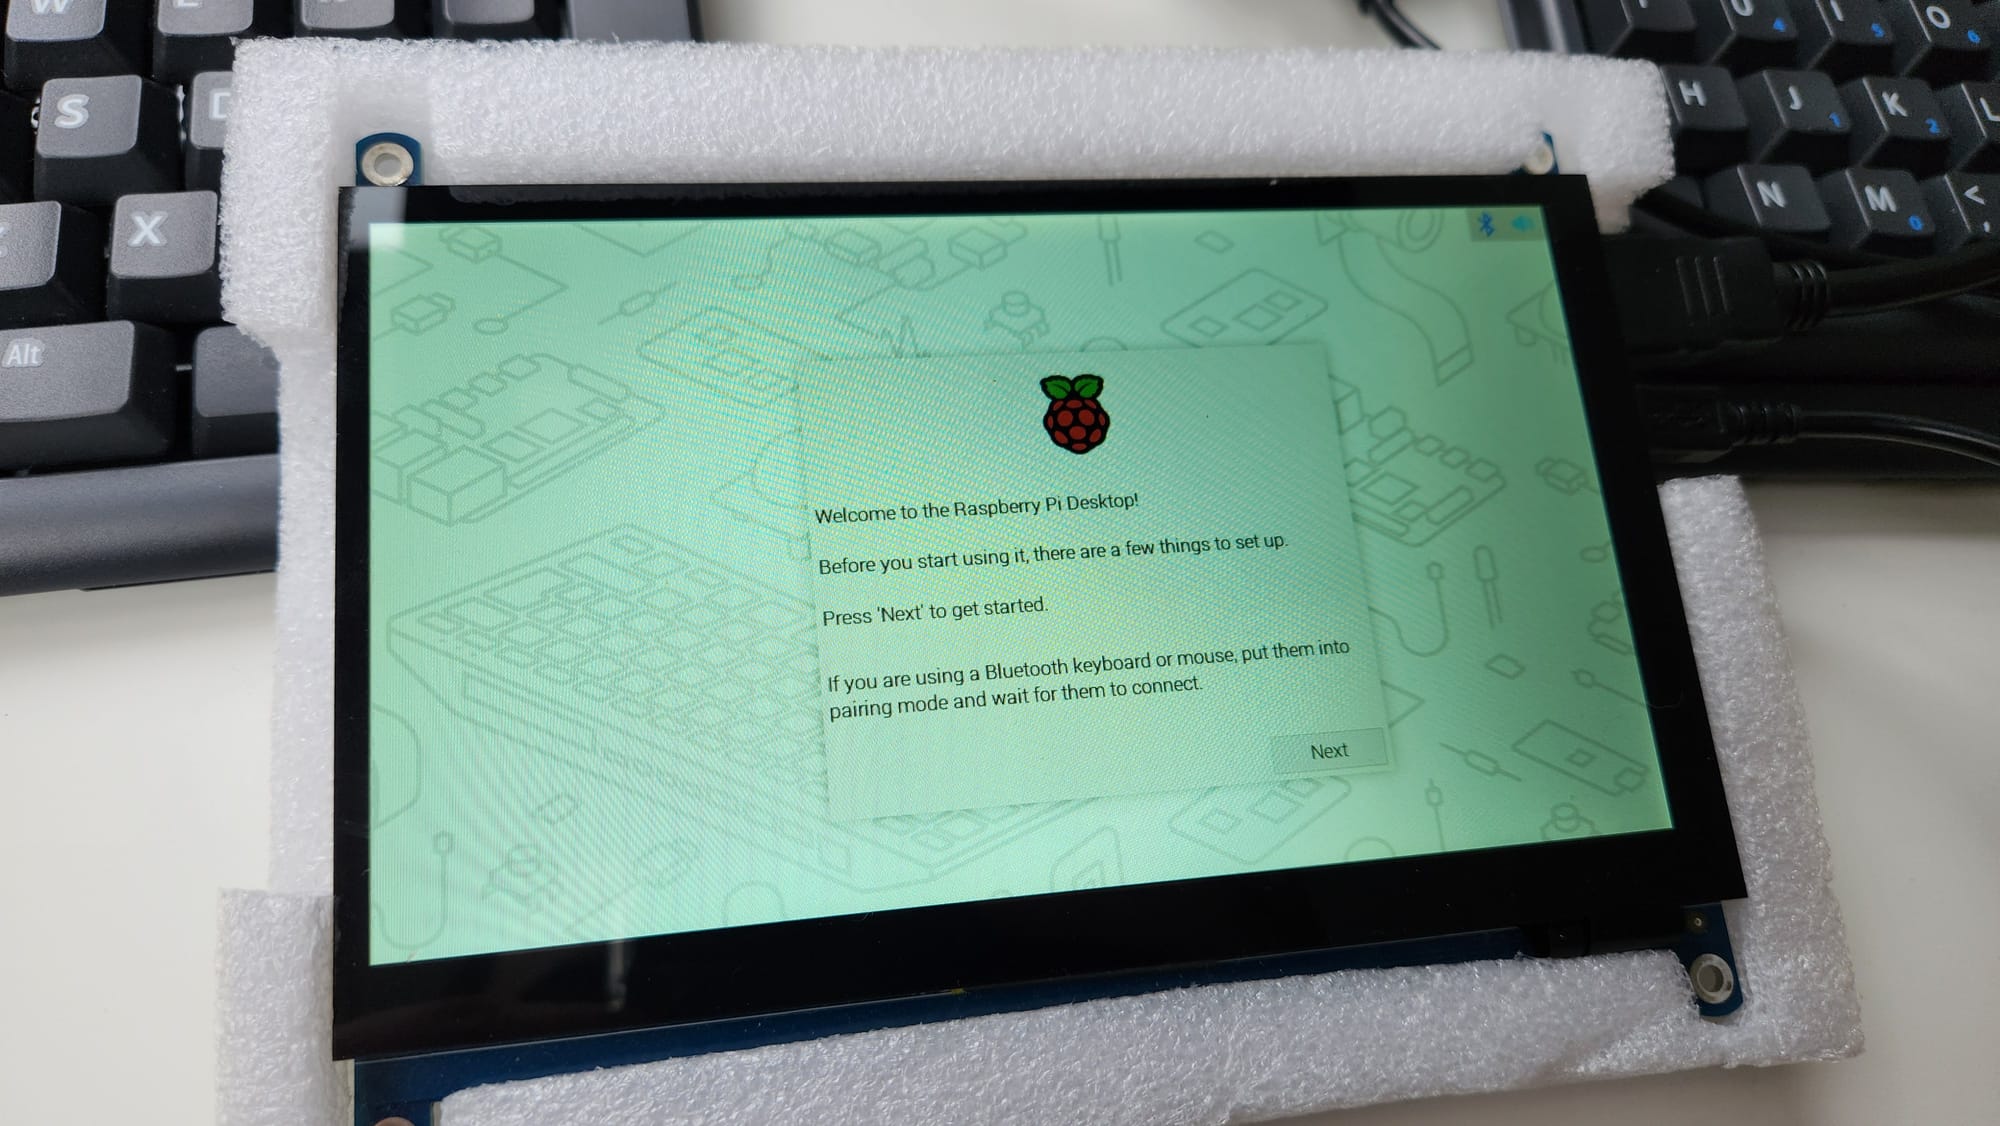
Now, insert the microSD into the Pi, connect the input devices and the screen, and then connect the power. The first boot usually takes a bit because the system is set up for the first time. If everything goes right, congratulations! You have a working Raspberry Pi with Raspberry Pi OS on board!
Configuring OS
Tap (or click) through the setup process. It's quite self-explanatory. Make sure to remember the username and the password — you'll use that to SSH. Then turn on SSH following this official guide. I changed the hostname to better identify this little machine in the same set of settings. Next, I prefer to keep static internal IP for some of my hardware, and this Pi is one of these instances. This is optional, but I suggest reserving an IP address for the Pi's MAC address in the DHCP settings of your router.
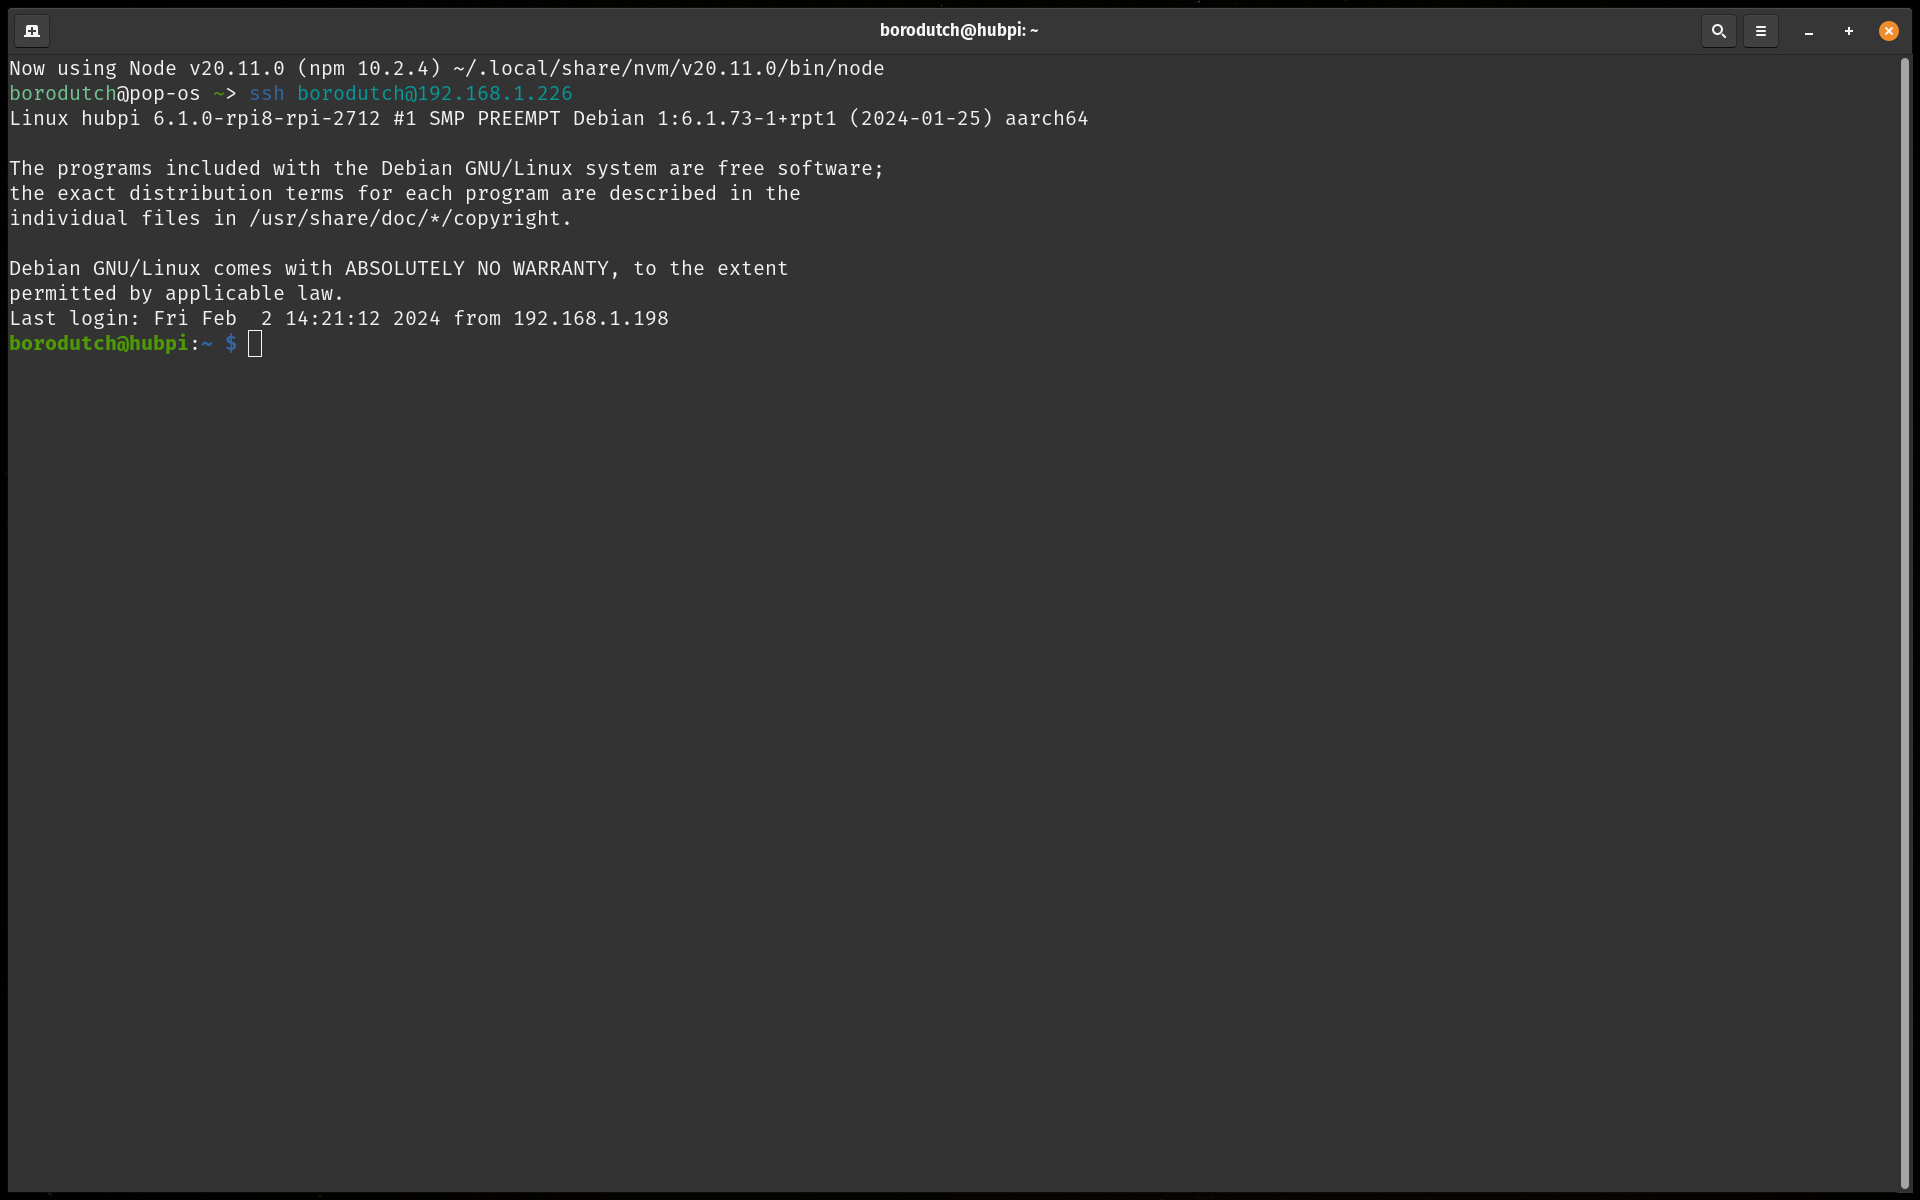
Now, SSH into the machine to the user that you created. You will be prompted for the password you've set.
So that your Pi is a bit more secure, I suggest the following steps:
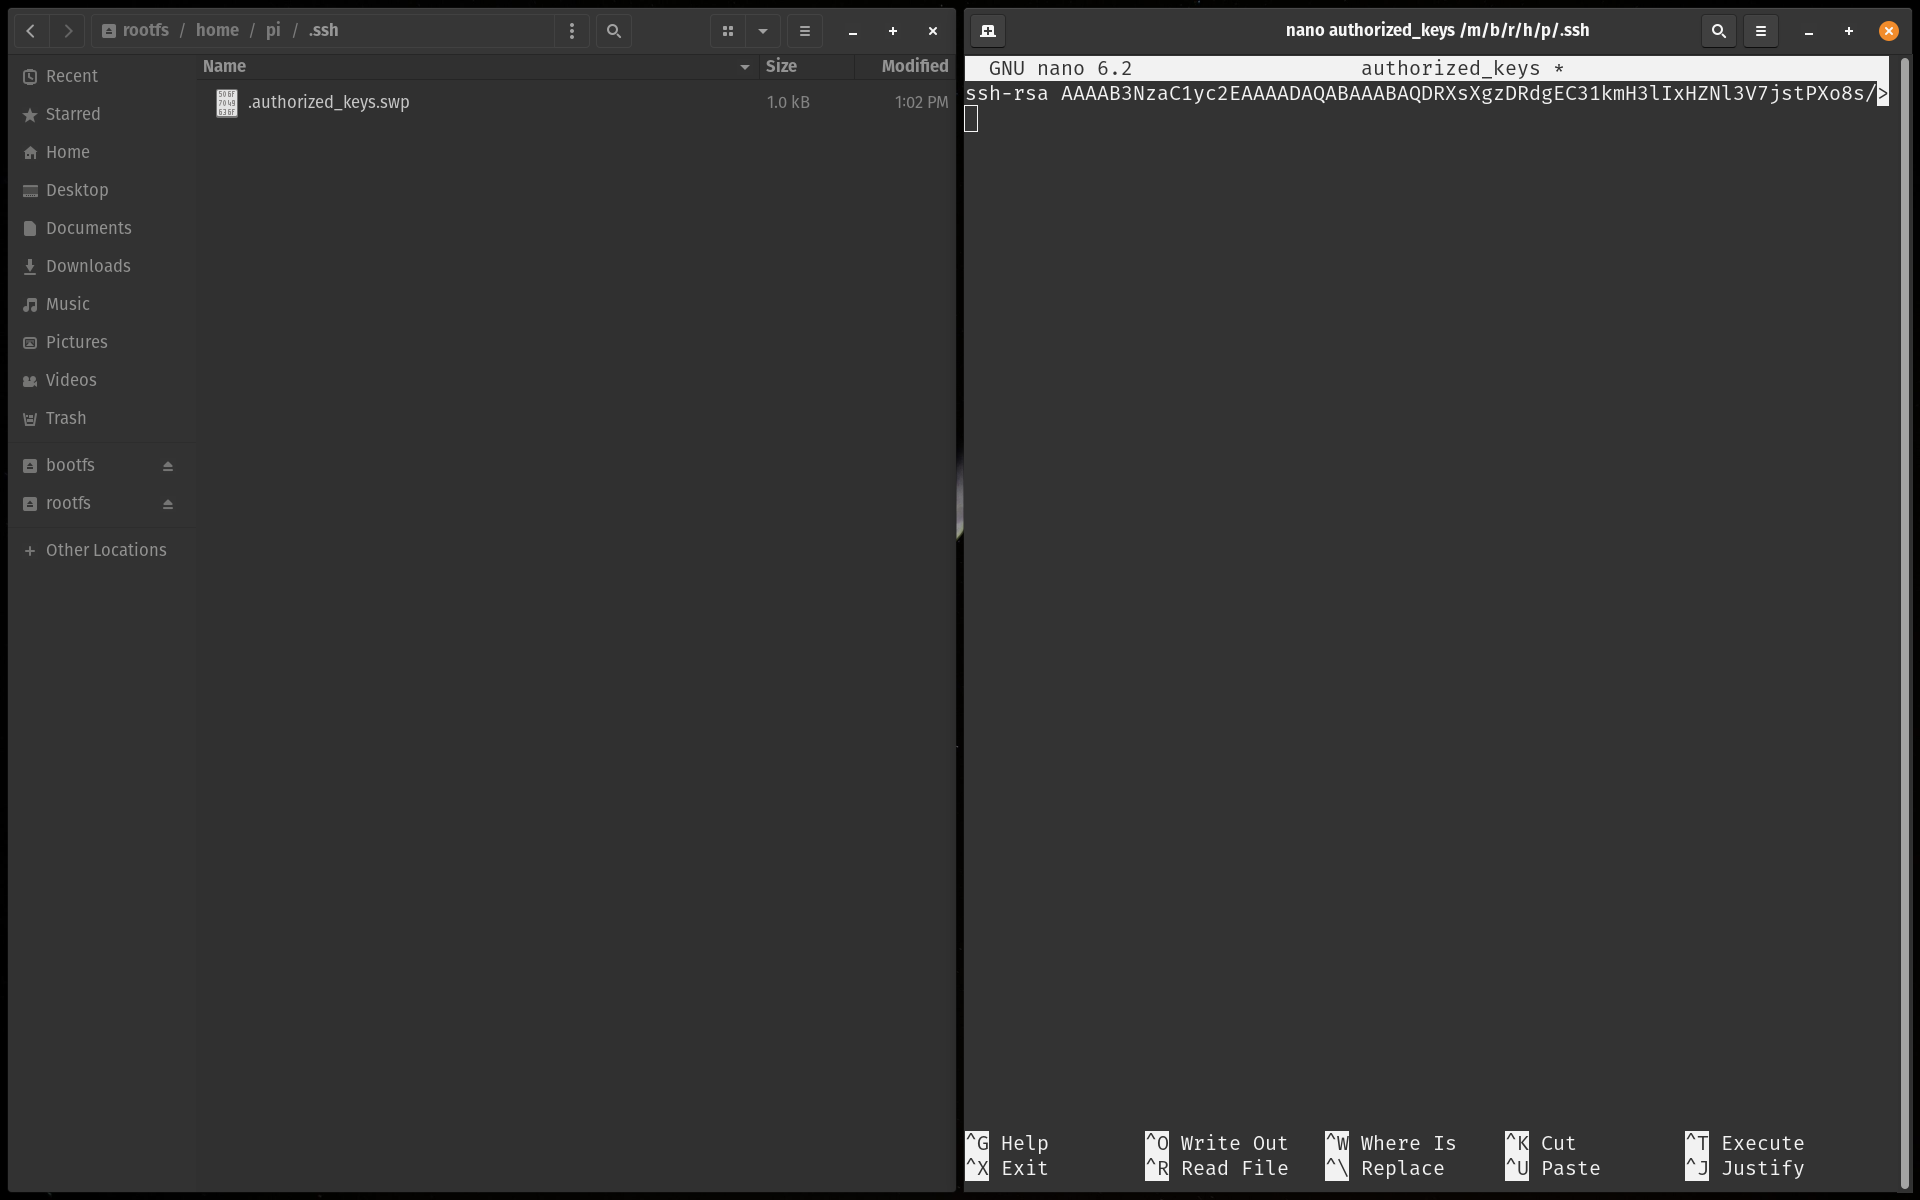
- Add your SSH public key to
/home/{user}/.ssh/authorized_keys(the easiest way to do that over SSH is probablynano). - Turn off password-based SSH.
- Install and configure fail2ban.
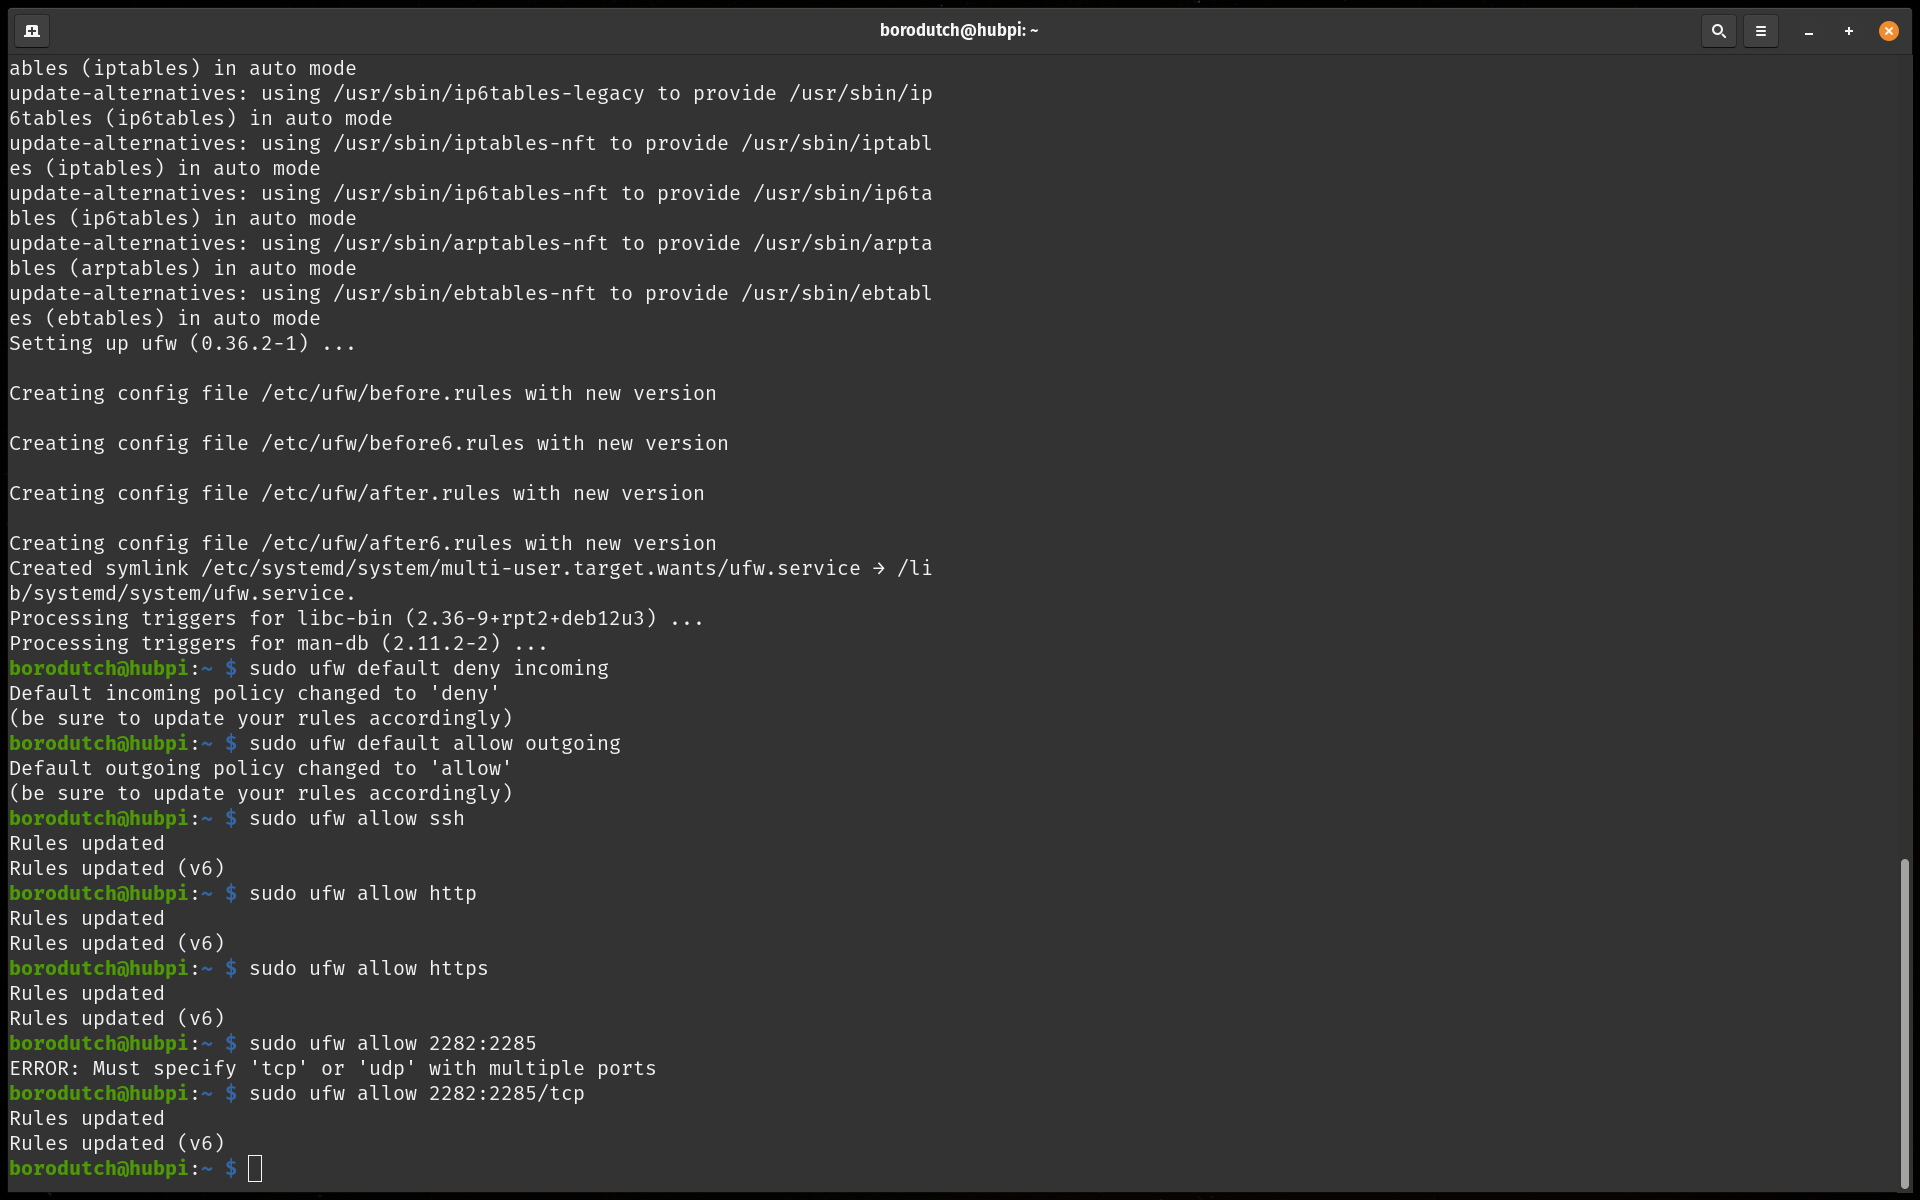
- Install and configure UFW. If you do this, make sure to open the required ports for the hub later on (incoming ports 2282-2285). I also suggest opening HTTP and HTTPS ports, as pictured below. Also, opening port 3000 can be a bright idea because that's where your Grafana dashboard will be accessible.
That's basically it for configuring the Pi! Congratulations, you have a fully stable Pi running on your local network that you can SSH into. Everything below will presume that you're SSH'd into the Pi. Ditch the display, the keyboard, and the mouse. Imagine that your Pi is somewhere in a data center in Houston. Embrace Terminal.
Installing the Hub
Fetch the latest install script command from the official Hubble project website (this is the simplest way to have a Hub running). In my case, I ran the following command on the Pi to install the Hubble.
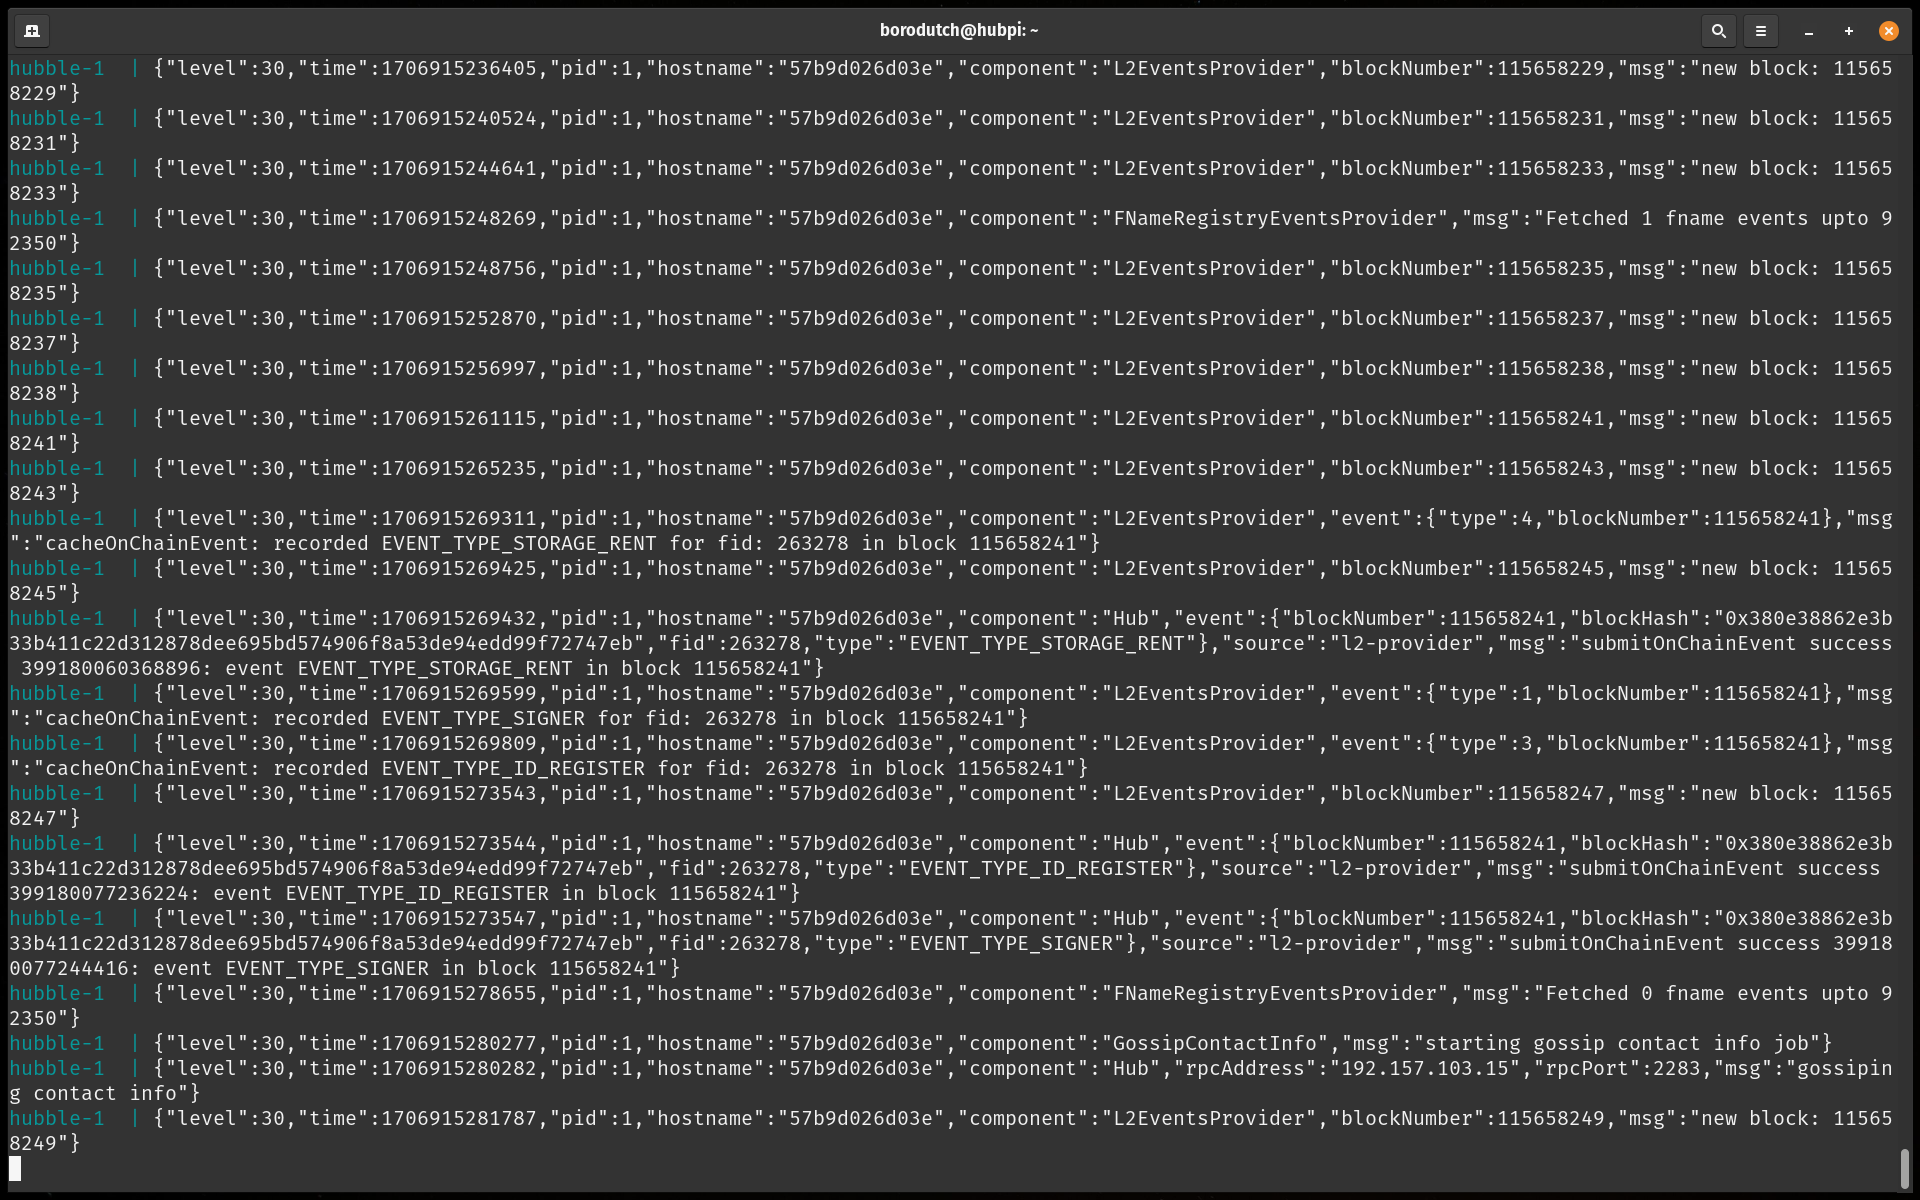
curl -sSL https://download.thehubble.xyz/bootstrap.sh | bash"It is going to ask you a couple of questions," the barista at my favorite coffee shop says after turning iPad my way. It will take a few minutes to download everything and install the Hubble on the Pi. You will get a Grafana dashboard at port 3000. If you opened this port before with UFW, check it out by going to http://{pi_ip_address}:3000.
It will take some time for the Hub to be recognized on the network. Leave it for a solid 15 minutes if your Grafana dashboard doesn't show any peer connections.
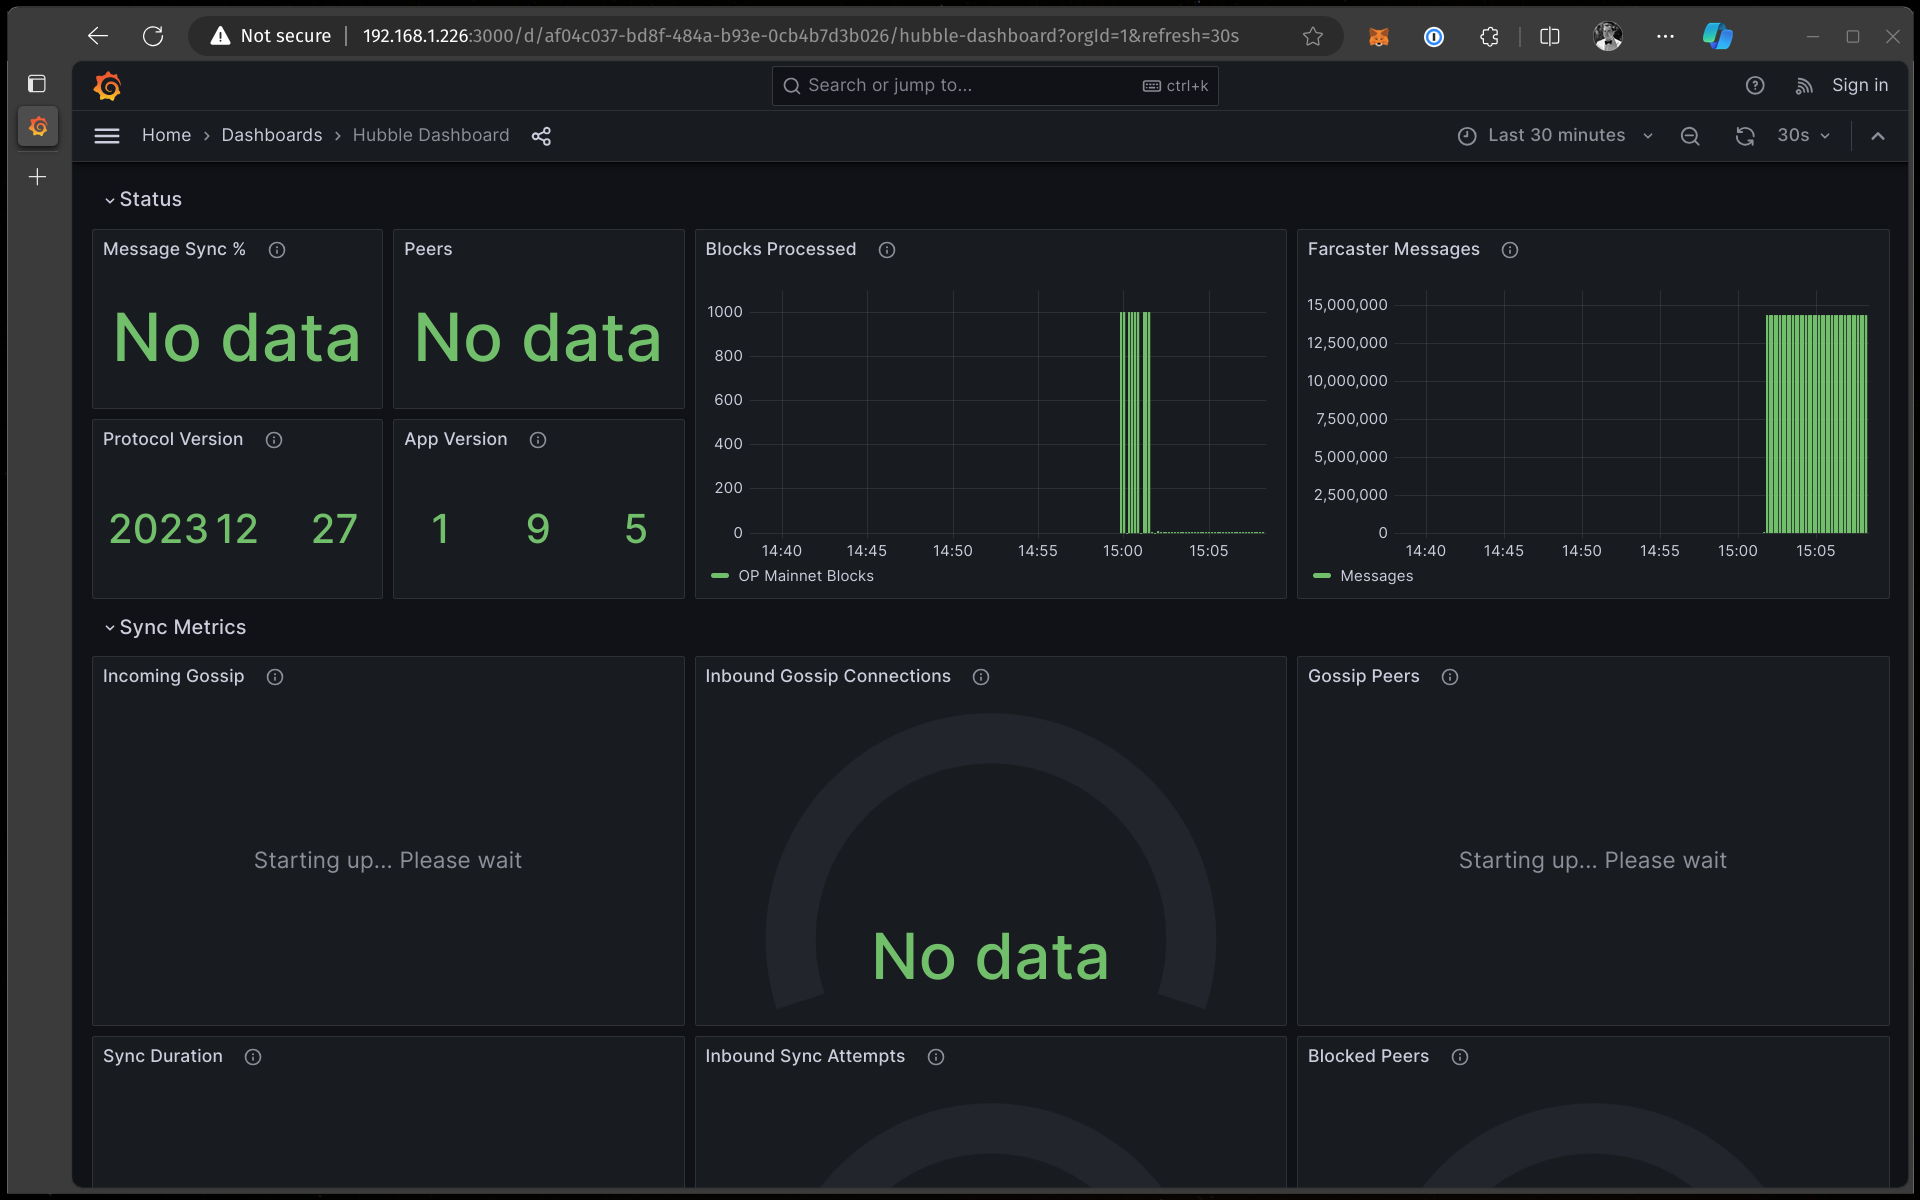
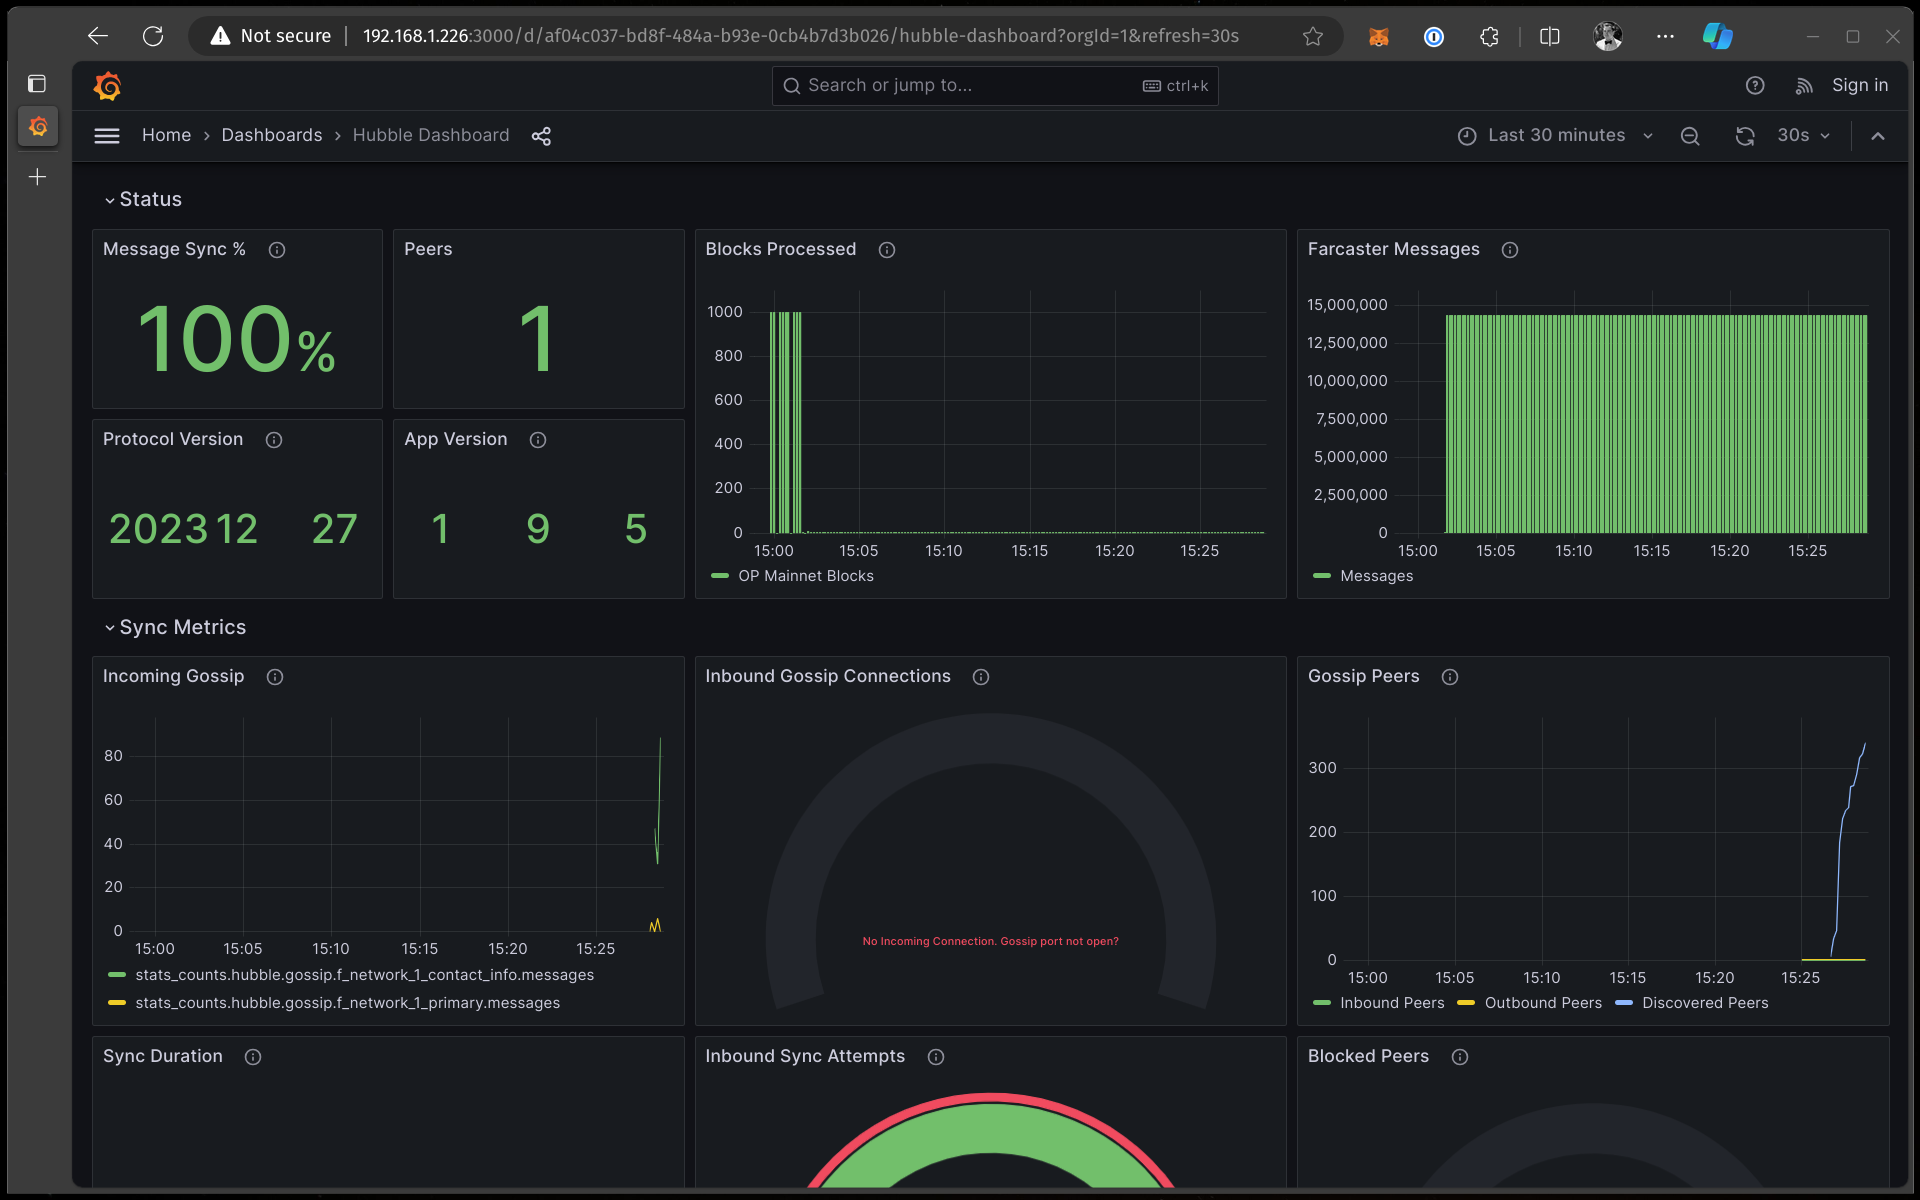
After a bit of time, you will get the first peer connection. Don't worry about the gossip connections. If you've opened the ports, it should also start working later.
Conclusion
In conclusion, all things come to an end, including this awesome tutorial. What can I say, except you're welcome for this detailed step-by-step guide?
Go touch grass or something, I don't know.
Cheers!